How to Deep Clean Stove Coils: A Step-by-Step Guide
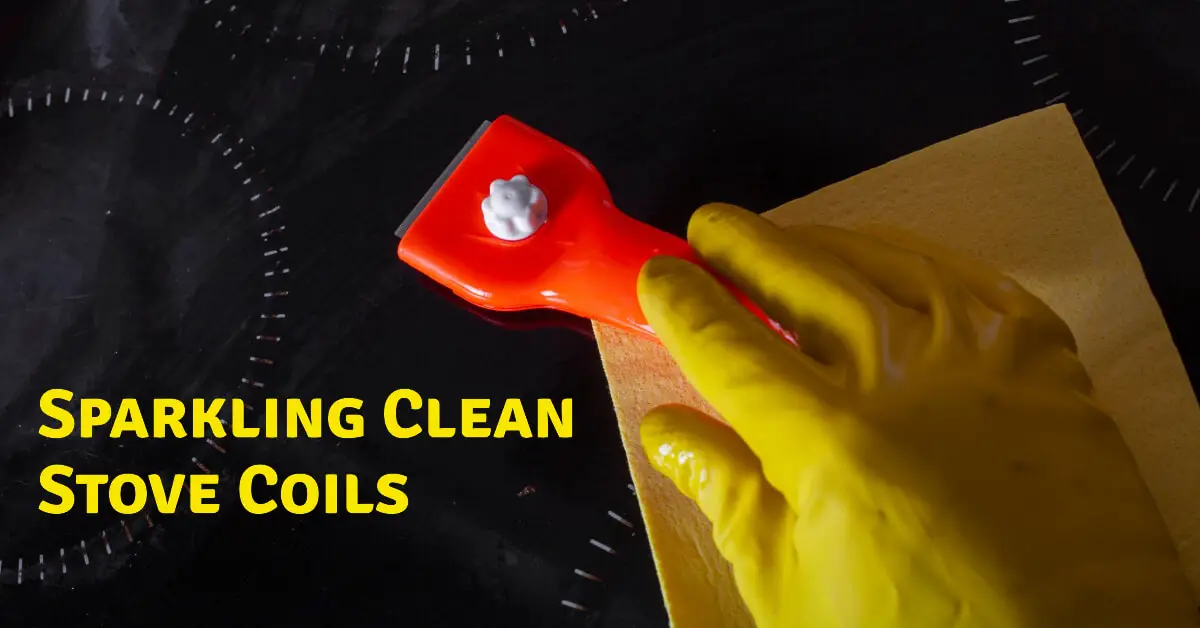
Is your electric stove not heating like it used to? Are your burners taking longer to boil water or sauté veggies? Do you have flaky burnt food residue stuck to your coils?
If so, it’s likely time for a deep clean of your stove’s coils!
A thorough cleaning can remove built-up grease and food, restore your stove’s heating power, and make cooking safer and more enjoyable.
In this guide, you’ll learn:
- Why cleaning coils is important for stove performance
- How often to deep clean your electric stove
- The supplies you’ll need to properly clean your heating coils
- A step-by-step process for deep cleaning coils
- Tips for removing stubborn baked-on stains and gunk
- Maintenance between deep cleans to keep your stovetop sparkling
- When it’s best to call in a professional
- Answers to frequently asked questions about cleaning electric stove coils
So unroll those sleeves, gather your supplies, and let’s get that cooktop looking brand new!
Why It’s Crucial to Keep Your Electric Stove Coils Squeaky Clean
While it may seem like an arduous chore, keeping your electric stove burners clean should be part of your regular kitchen care. Here’s why it really pays off:
- Prevents food residue buildup – Burnt on food, grease, and grime can quickly accumulate on your coils. Regular cleaning prevents stains and sticky buildup.
- Improves heating efficiency – Gunk on your coils acts as an insulator, slowing heat transfer. Clean coils heat up quicker and more evenly.
- Extends the life of your stove – Built-up food debris can lead to corrosion and damage over time. Cleaning protects your investment.
- Avoids damage to coils – Scrubbing burnt on debris can bend or break coils. It’s better to clean before food sticks.
- Makes cooking more enjoyable – There’s nothing appealing about cooking on a dirty stove! Keeping your stove looking nice keeps cooking fun.
- Enhances safety – Grease on coils is a fire hazard. Regular cleaning reduces the risk of accidental flames.
So don’t neglect this important task – your stove and your cooking will thank you!
How Often Should You Deep Clean Your Electric Stove Coils?
For most households, a deep clean of your electric stove coils every 3-6 months is recommended. However, you may need to clean more frequently if:
- You do a lot of frying, broiling, or other splatter-prone cooking
- You have many boil-overs or baking mishaps
- Your coils seem to be heating unevenly
- You notice food debris building up
- Your stove top just doesn’t look clean!
For quick maintenance in between deep cleans, plan to:
- Wipe down the stove top once a week
- Clean up spills promptly after cooking
- Use drip pans under messy dishes
- Cover unused burners to block splatter
With regular light cleaning and periodic deep cleans, you can keep your electric stove looking great all year long!
Must-Have Supplies for Deep Cleaning Electric Stove Coils
Before tackling a deep clean, gather the following supplies:
- Baking soda – Makes a gentle, non-abrasive scrubbing paste
- Dish soap – Helps cut through grease; use a mild brand
- Cleaning cloths – Soft sponges, rags, paper towels
- Small brush or toothbrush – For scrubbing crevices
- Gloves – Protect your hands from harsh cleaners
- Drip pans – For removing coils and catching drips
- Foil or towels – For covering areas you don’t want wet
- Water – For rinsing and making paste
Optional extras:
- All-purpose cleaner – For the stove exterior
- Glass cleaner – If you have a glass top
- Cooker cleaner – Formulated for burnt on stains
- Disinfecting wipes – For sanitizing the stovetop
Arm yourself with the right gear, and you’ll be able to tackle even the grimiest stove coils!
Step-by-Step Guide to Deep Cleaning Electric Stove Coils
Ready to roll up your sleeves and get scrubbing? Follow these steps to thoroughly clean coils:
1. Remove Coils and Burner Pans
Most electric stove coils are removable for easy cleaning. Simply lift coils straight up from their connections. Be gentle to avoid bending.
Remove any drip pans beneath the coils as well. Have a towel nearby to place coils and pans to avoid dripping on the floor.
2. Clean Stove Exterior and Backsplash
With the coils removed, you have easy access to the rest of the stovetop. Give it a good wipe down with an all-purpose cleaner and cloth. Pay extra attention to the areas around the burners.
Clean any backsplashes or walls near the stove too. Grimy walls contribute to an overall dirty look.
3. Make a Baking Soda Paste
For scrubbing the coils, baking soda mixed with a little water makes a gentle but effective abrasive paste.
Mix a 1:1 ratio of baking soda and water. You want enough paste to thoroughly coat each coil.
4. Scrub Coils with Paste
Working on one coil at a time, spread a layer of baking soda paste over the entire coil using a cleaning cloth or brush. Apply some elbow grease and scrub away all stained and stuck-on debris.
Get into crevices with a small brush. Rinse with clean water and repeat scrubbing if needed for stubborn grime.
5. Rinse Coils and Wipe Down
Once scrubbed, use clean water to completely rinse away all baking soda paste. Wipe coils with a dry towel to remove excess moisture.
Make sure coils are completely dry before replacing them. Wet coils can damage the electric connections.
6. Wash Removable Parts and Drip Pans
While the coils are drying, wash any removable burner pans or drip pans. Use hot soapy water and scrub with a cloth or brush.
Rinse and dry fully. For tough stains, let pans soak in sudsy water to loosen debris.
7. Replace Coils and Pans
Once everything is dry, carefully replace the electric coils, seating them properly on their electric connections.
Reposition any drip pans or removable burner covers as well.
8. Test and Clean Up
Turn your stove back on and test that the burners heat up quickly and evenly. If they do, congratulations on your clean cooktop!
Give the surrounding stovetop one final wipe down with a dry towel to remove any last drips or crumbs. Admire your work and enjoy easier cooking!
Tackling Stubborn Baked-On Grime and Grease
What if your coils have layers of caked-on burnt food or thick oily grease? The baking soda scrub may not be enough to cut through heavy grime. Here are some additional steps to try:
- Soak coils – Fill a container with warm water and dish soap. Submerge coils and let soak 30 minutes up to a few hours. This softens debris.
- Repeat scrubbing – Use a fresh baking soda paste after soaking and scrub multiple times if needed.
- Try an abrasive cleaner – For tough grease, use an abrasive stove cleaner according to directions. Rinse extremely well.
- Use foil to clean – Ball up foil and rub to remove stuck-on grime. Works like fine steel wool.
- Remove completely – For worst cases, remove the entire coil housing and place in a sink or tub for cleaning.
Be extra careful handling coils during heavy-duty cleaning. Work slowly and avoid bending or damaging the fragile metal. With some persistence, your coils will be gunk-free!
Maintaining Your Electric Stove Between Deep Cleanings
To make deep cleans less frequent, maintain your stove surface regularly:
- Use drip pans – Place these under dishes prone to boiling over or splattering grease.
- Clean spills ASAP – Don’t let food dry on coils. Promptly wipe up spills.
- Cover unused burners – When cooking, place lids over burners you’re not using to block splatter.
- Wipe the stovetop often – Quickly wiping the stove surface keeps grease from sticking.
- Remove and clean coils – Every 1-2 months, do a quick scrub of coils.
With good cooking habits and regular mini-cleans, you can go longer between deep cleans!
When to Call for Professional Help with Stove Cleaning
While DIY coil cleaning is ideal for general maintenance, some situations call for hiring pros:
- Severe built-up grease or grime – If layers of burnt-on debris don’t budge, it may take a commercial oven cleaner.
- Damaged or faulty coils – Professionals can inspect coils and replace if needed. Don’t clean broken coils yourself.
- Glass top electric stove cleaning – Glass requires special non-abrasive cleaners to avoid scratching.
- Oven cleaning – For heavy oven grime, a pro cleaning is best to safely handle harsh chemicals.
- Time constraints – If you’d rather spend time doing something else, hire someone else to handle the dirty work!
Know your limits. For extreme stove dirtiness, the professionals have commercial-strength products and methods to get everything sparkling.
Your Top Electric Stove Coil Cleaning Questions – Answered!
Let’s recap some common questions on the intricacies of cleaning electric stove coils:
Can I use aluminum foil to clean my electric coils?
Yes, balled up foil can remove stubborn burnt-on food residue. Gently rub the coil in a circular motion. The foil acts as a mild abrasive. Be careful not to bend delicate coils.
How do I clean gas stove burners?
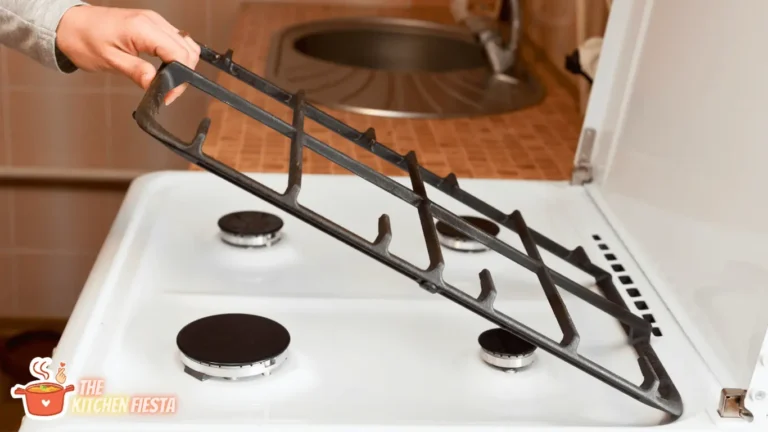
Gas stove tops have metal grates over the burners. Follow similar steps – remove grates, clean with baking soda paste, rinse, and dry completely before replacing.
Is it safe to get my electric coils wet?
You can get coils wet when cleaning. Just ensure they are completely dry before turning the stove back on. Water and electricity don’t mix!
How should I clean a glass top electric stove?
Avoid abrasive cleaners on glass cooktops. Use a specialized glass cleaner and soft cloth. Vinegar, dish soap, or a razor blade can also clean glass stove tops.
In Summary – Steps for Keeping Electric Stove Coils Squeaky Clean
To recap, here are the key steps for deep cleaning coils:
- Remove coils and burner pans
- Make a baking soda paste
- Scrub coils and pans to remove grime
- Rinse thoroughly and dry completely
- Replace coils and test heating
- Maintain regularly between deep cleans
And a few final tips:
- Deep clean coils every 3-6 months
- Use drip pans when cooking to minimize splatter
- Don’t bang, brush, or bend coils – they are fragile!
With this guide, your electric stove coils will be sparkling clean, heating efficiently, and making cooking a pleasure. No more sticking or burning food or uneven heating!
Now grab a cloth, gather supplies, and start scrubbing those coils. Your cooktop will look brand new in no time. Happy cleaning!

