Stove Top Numbers to Degrees: A Guide to Accurate Temperature Conversion
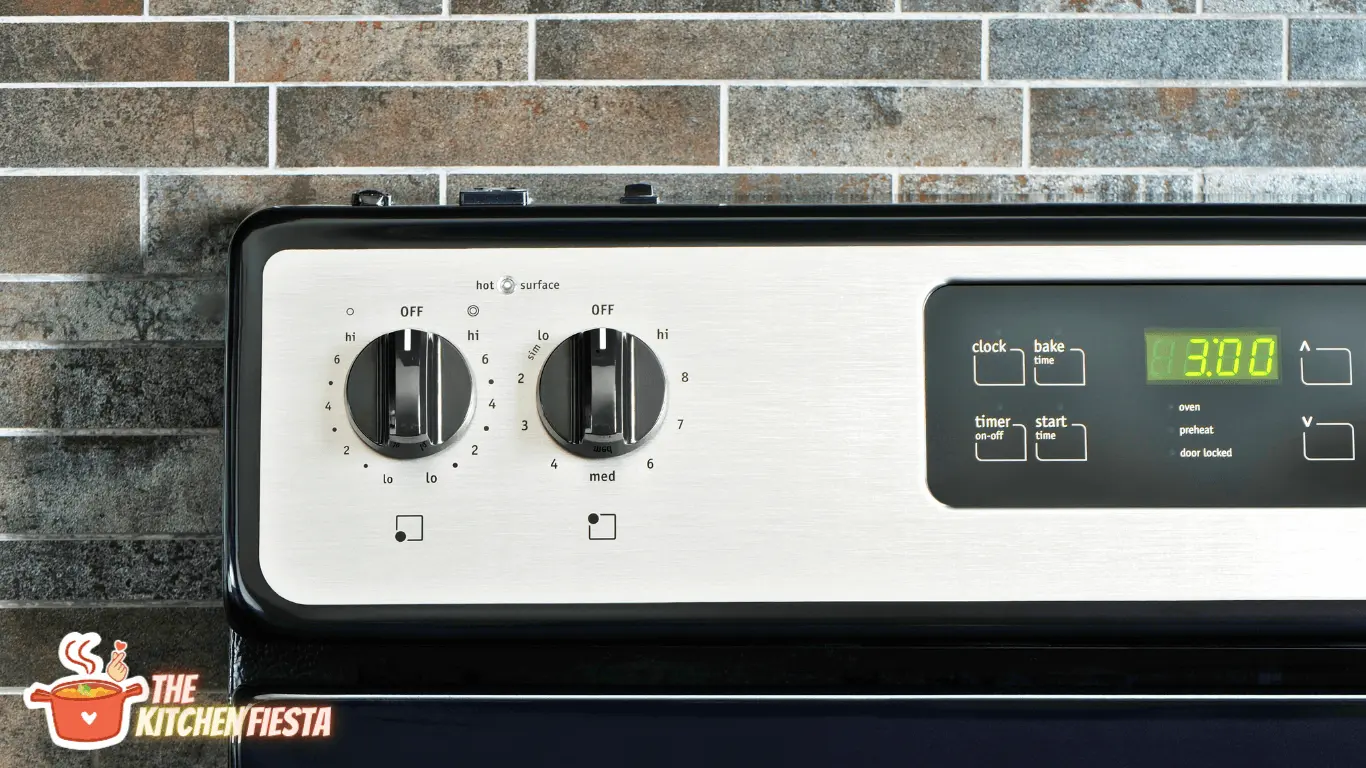
Cooking on a stovetop seems simple enough – you turn the knob to a number, and the burner heats up. But unless you have the stove’s instruction manual handy, it can be tricky to know exactly what temperature each number or setting corresponds to.
What do the numbers on your stove knobs actually mean? How hot do the burners get at each setting? And why doesn’t every stove use the same numbering system?
This article will explain everything you need to know about stove top temperature charts – from how to interpret those mysterious numbers to tips for adapting recipes when your stove doesn’t go as high as called for. You’ll also learn best practices for using tools like thermometers and dialing in the right heat levels for different cooking techniques.
By the end, you’ll be a stovetop pro ready to achieve consistently great cooking results!
How Stovetops Work – And Why Each Model Varies
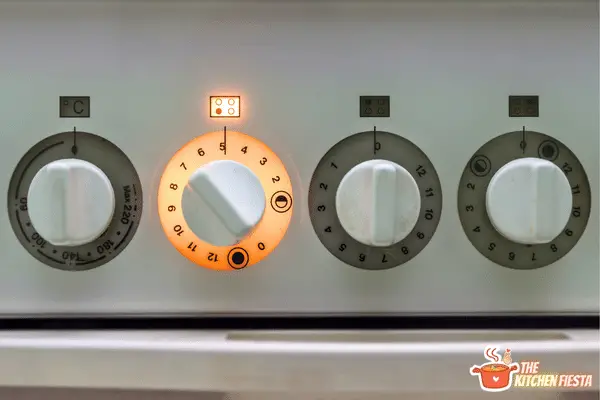
To understand what the numbers on your stove mean, it helps to first look at how stovetops work.
Stovetops use either gas burners or electric heating elements to heat the cooking surface. Turning the control knob allows more or less fuel/electricity to flow, making the burner hotter or cooler.
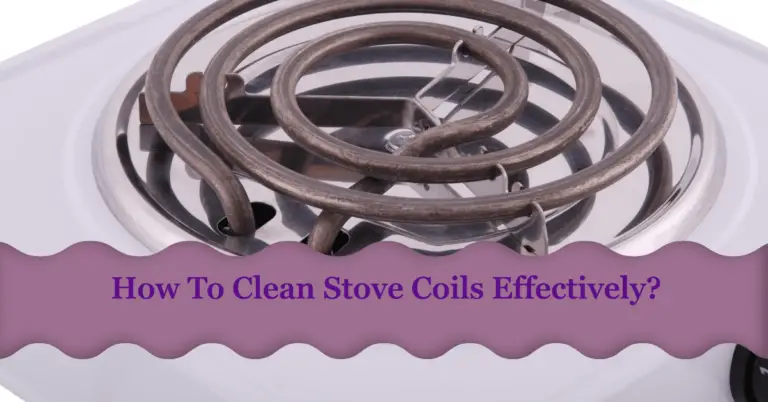
On an electric stove, the heating element gets hot when electricity runs through it. The higher the setting, the more electricity flows, and the hotter the element gets.
For a gas stove, turning the knob controls the gas valve, allowing more or less fuel to the burner. More gas flowing means a bigger flame and higher heat.
Now here’s the catch – not all stoves are created equal when it comes to their heat output and maximum temperatures. There are a few key factors at play:
- Burner or element wattage: Higher wattage means more heating power. Electric stove elements range from about 800-3000+ watts. Gas burners vary too.
- Stovetop design: More tightly spaced burners conserve heat, while spaced out burners allow heat to dissipate.
- Materials: Grates and cooktop materials affect heat conduction. Cast iron retains heat, ceramic doesn’t as well.
- Brand: Some brands design their stoves to reach higher maximum temps than others. Professional restaurant stoves are extremely hot.
With so many variables, it’s no wonder each stovetop model has its own specific temperature range! There’s no universal standard for the numbers.
That’s why a setting of “5” might bring one burner to 300°F, while on another stove that could be 500°F or more. Let’s look at some examples…
Stovetop Temperature Ranges by Brand and Model
To give you a sense of how stove top numbers translate to real degrees, here are some example ranges for different brands and models:
- A Frigidaire electric stove’s low settings go from 150-375°F. Medium is 375-500°F, and high ranges from 500-575°F.
- The low settings on a GE Profile electric stove range from 140-300°F. Medium goes up to 500°F and high reaches about 700°F.
- A Whirlpool gas stove has a low range of 250-300°F, medium of 300-375°F, and high from 375-450°F.
- Viking professional gas stoves reach even higher temps, with low at 200-300°F, medium at 300-500°F, and high hitting 650-700°F.
As you can see, the numbers on your stovetop could mean anything from 250°F on low to 700°F on high depending on the brand and model. Not very helpful, is it?
That’s why getting to know your stove’s specific temperature capability is so important for cooking success.
Stovetop Temperature Chart
Stovetop numbers correspond to a range of temperatures, measured in Fahrenheit (F) or Celsius (C). Here is a general guide, but exact ranges vary by stove model:
| Stove Top Number | Fahrenheit | Celsius |
|---|---|---|
| 1 | 175-200F | 80-95C |
| 2 | 200-250F | 95-120C |
| 3 | 250-300F | 120-150C |
| 4 | 300-350F | 150-175C |
| 5 | 350-400F | 175-205C |
| 6 | 400-450F | 205-230C |
| 7 | 450-500F | 230-260C |
| 8 | 500-550F | 260-290C |
| 9 | 550-600F | 290-315C |
Methods to Determine Your Stove’s Temperatures
If you don’t have the user manual, here are some ways to figure out your stove’s number-to-degree correlation:
- Use a thermometer – Place an oven-safe thermometer on the grate while heating on various settings. This will show you the surface temperature range for each number. Infrared thermometers also work.
- Look for visual cues – On an electric stove, an element that’s glowing is above about 500°F. Low settings won’t make it glow.
- Test with oil – Heat up vegetable oil on different settings and observe its behavior. Lower temps around 300°F will shimmer. Medium-high of 350-400°F will have gentle bubbling. High heat causes rapid bubbling around 450°F.
- Boil water test – See how long it takes water to reach a boil on each setting. Faster boiling = higher temperature setting.
- Contact the manufacturer – Check the company website or contact customer service to ask for temperature specs.
With a bit of testing and observation, you can create your own customized stovetop temperature chart reflecting how the numbers translate to degrees on your particular model.
How Hot Each Stovetop Setting Should Be For Cooking?
Once you know your stove’s temperature capability, the next question is – how high should you actually set it for different cooking methods?
Here is a general temperature guide for common cooking techniques:
- Simmering or poaching – 180-200°F – Ideal for delicate foods like eggs and fish that need gentle heat. Bubbles are just starting to break the surface.
- Low or warming – 200-250°F – Good for keeping food just heated through without further cooking. Melting chocolate or butter.
- Medium-low – 250-300°F – Suitable for simmering soups, sauces, and braising tougher cuts of meat at longer cooking times.
- Medium – 300-350°F – The all-purpose medium heat for most cooking. Non-stick pan vegetables like onions can be cooked here.
- Medium-high – 350-400°F – Good for pan frying meats and browning. Also boiling water faster.
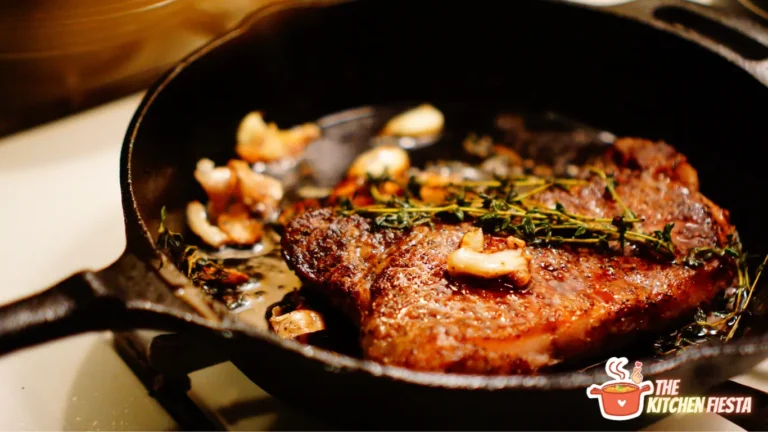
- High – 400-450°F+ – Best for searing steaks or heating oil for deep frying. Gets water boiling rapidly.
These ranges serve as a general guideline, but you may need to adjust up or down depending on your stove and the recipe. Which brings us to…
How to Adapt Recipes for Your Stovetop’s Temperature?
What if your stove doesn’t reach quite as high of temperatures as a recipe calls for? Or you’re not sure which setting matches a recipe’s “medium” instruction?
No worries – with some simple adjustments, you can adapt:
- If your stove’s high setting maxes out at 400°F and the recipe says to heat oil on high to 450°F, use the slightly lower temp but allow a minute or two longer preheating time.
- For pan frying on medium-high, if your stove only gets to 375°F, turn to just below high and monitor food closely, adjusting time accordingly.
- If a recipe says to simmer on low and your low is 250°F, begin with medium-low then turn down. Higher initial temp will still penetrate food.
- Replace “medium” with your stove’s actual medium number, whatever that equates to in °F.
- Always watch foods closely and be ready to lower temperature if needed – you can always turn up the heat again.
With practice, you’ll get a feel for how to set your stove equivalently to what recipes call for. Consistent checking with a thermometer helps too.
Tips for Controlling Temperature on Electric vs. Gas Stoves
Beyond interpreting the numbers, it’s also helpful to understand how temperature control works slightly differently with electric vs. gas stoves:
Electric stove tips:
- Electric elements can heat unevenly with hot or cool spots. Rotate pans and watch closely.
- Heat is immediate – elements go from cold to hot quickly when turned on.
- Residual heat remains after turning off – use lowest setting once food is close to done.
Gas stove tips:
- Flames spread heat more evenly than electric elements.
- Heat is gradual – temperature increases slowly even on highest setting.
- Changes happen immediately when adjusting knob. Little residual heat remains after off.
- Use a diffuser if flames go past pan edges. Keeps heat consistent underneath.
With both stove types, lift pans briefly to check undersides as food cooks – this prevents hot spots or burning.
Matching Burner Size to Cookware
One other tip for temperature control is matching your burner and cookware sizes appropriately:
- Small pans on large burners = excess wasted heat and hotter spots
- Large pans on small burners = inefficient heat transfer and slower cooking
Get the best results by selecting the burner closest in size to the pan’s diameter. This allows even contact for efficient cooking.
Best Practices for Common Stovetop Cooking Techniques
Once you know your stove’s temperature range and have some control tips under your belt, it’s time to put that knowledge into practice with various cooking methods!
Follow these best practices for success with different stovetop techniques:
Simmering or Poaching
- Use lower stove settings around 180-200°F for delicate simmering and poaching.
- Bubbles should just barely break the surface, no visible movement underneath.
- Ideal for eggs, seafood, sauces that need gentle heat.
- Takes patience – don’t increase heat too quickly.
- Add lid to help retain heat and moisture.
Pan or Shallow Frying
- Use medium-high setting around 350-375°F.
- Get pan and oil hot before adding food.
- Oil should shimmer and food sizzle immediately, but not smoke.
- Adhere food first before moving to prevent ripping.
- Adjust heat as needed to keep sizzle consistent.
Searing or Browning
- Use high setting from 400-450°F+.
- Dry food well first – moisture causes steaming not searing.
- Don’t overcrowd pan – sear in batches for proper heat contact.
- Let sear develop undisturbed before flipping.
- Reduce heat if food begins to scorch or burn.
Maintaining a Low Simmer
- Use low to medium-low, around 200-250°F.
- Occasional bubbles breaking surface.
- Helps meld flavors in soups, stews, sauces.
- Prevents reducing or burning if unattended briefly.
- Use diffuser for very gentle simmer on gas stoves.
Boiling Water Quickly
- High heat above 425°F boiling point of water.
- Cover pot to speed up.
- Once boiling, can reduce heat to maintain simmer.
- Match burner and pot sizes for efficiency.
Deep Frying
- Use high heat around 400°F for crisp results.
- Thermometer is essential to monitor oil temp.
- Adjust heat to maintain proper temp once food is added.
- Fry in batches to prevent temperature drop.
Follow these guidelines, adjust for your stove’s capability, and test frequently with a thermometer. Soon you’ll become an expert stovetop cook able to dial in the right temperature for every dish!
Frequently Asked Questions About Stove Top Temperatures
To wrap up this stove top temperature guide, here are answers to some common questions:
Why doesn’t my stove just show temperature numbers instead of 1-9?
Most home stove manufacturers use numbered settings rather than actual degrees. This allows flexibility across different models without redesigning controls each time. For most basic cooking, the 1-9 works fine without precise temps.
How can I tell if my stove is heating properly?
Check for visual cues like glowing elements on electric or flame spread on gas. If heating seems uneven or slow, have your stove professionally tested for any defects.
Do induction cooktops work the same way?
Induction uses electromagnetic energy to induce vibration and heat cookware itself. Temperature display and control is highly precise. But the concepts in this article still apply for interpreting heat levels.
Should I always use the highest stove setting for faster boiling?
No – the highest settings can scorch foods and make liquids boil over more. Medium-high to high is best for efficient boiling without boiling over.
Why do boiling points vary at high altitude?
Lower air pressure at high altitudes causes water to boil at lower temperatures. Adjust recipes down about 3°F for every 1000 feet above sea level.
Key Takeaways on Stove Top Temperature Settings
To recap, here are the key points to remember:
- Stovetop temperature capability varies widely by model
- Determine your stove’s specific number-to-degree correlation
- Adjust recipes accordingly if your stove heats lower
- Use visual cues and thermometers to gauge temperatures
- Follow best practices for cooking techniques and heat control
- Match burner and cookware sizes for efficiency
With the knowledge from this guide, you can conquer your stove top and become a pro cook ready to whip up any recipe!

