How to Light Oven Pilot on Hotpoint? (Step-by-Step)

One of the most important things to know is how to light the pilot light. Without a lit pilot light, the oven won’t heat up properly, making it impossible to cook your favorite meals. In this article, we will guide you through How to Light Oven Pilot on Hotpoint step by step.
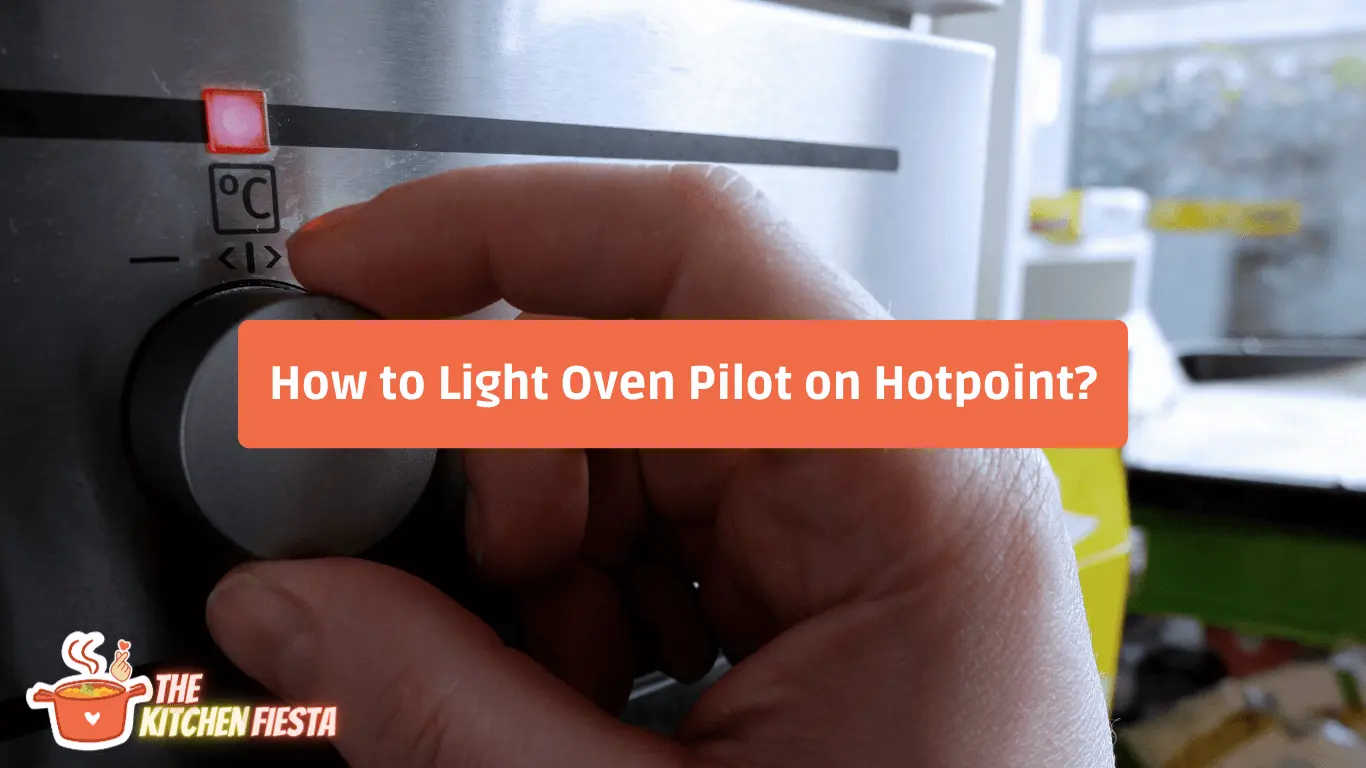
Firstly, you should locate the pilot light assembly, typically found at the burner’s connection on the bottom’s rear. Once you’ve found it, press and hold the control knob to ignite the pilot light. Keep holding the knob for at least another minute once the pilot light is lit to ensure it stays lit. Once done, you can reassemble the oven and check that the pilot light works properly.
You can ensure that your Hotpoint oven is working as intended and that you can easily cook your favorite meals. Whether you’re a seasoned cook or a beginner, knowing how to light the pilot light is an essential skill that will come in handy time and time again.
Locating the Pilot Light
The first step is to locate it. The pilot light is a small flame that ignites the gas burner in your oven. Here are the steps to follow to locate the pilot light:
Checking the Oven’s Manual
The first step is to check the oven’s manual. The manual will provide information on where the pilot light is located and how to light it. You can find a copy online if you don’t have the manual. Look for the model number of your oven and search for the manual online.
If you are still looking for the manual, here’s a general idea of where the pilot light is. The pilot light is usually located at the back of the oven, attached to the left side of the oven burner. You can access it by removing the oven bottom.
To remove the oven bottom, grab it by the finger slots on each side, raise it, and slide it out of the stove. Once you have removed the oven bottom, you should be able to see the pilot light.
Some newer models have electronic ignitions that automatically light the burner when you turn the oven on. If your oven has an electronic ignition, you won’t need to worry about lighting a pilot light.
Lighting the Pilot Light
Follow the correct steps to ensure safety and proper functioning. Here, we will walk you through the process step-by-step.
1. Turning off the Oven’s Gas Supply
Before attempting to light the pilot light, turn off the oven’s gas supply. To do this, locate the gas shut-off valve, typically behind the oven. Turn the valve to the “off” position to prevent gas from flowing while you work on the oven.
2. Accessing the Pilot Light
To access the pilot light, you must remove the oven’s bottom panel. This can typically be done by removing a few screws with a screwdriver. Once the panel is removed, you should see the pilot light assembly, typically located at the back of the oven.
3. Lighting the Pilot Light
To light the pilot light:
- Locate the control knob for the pilot light and press it in.
- While holding the knob in, use a long lighter or match to ignite the pilot flame.
- Once the flame is lit, hold the knob in for at least one minute to ensure the pilot stays lit.
Verify that the pilot light is working properly before reassembling the oven. Once you have verified that the pilot light is working, you can reassemble the oven and turn the gas supply back on.
Testing the Pilot Light
After lighting the pilot light on your Hotpoint oven, testing it to ensure it is functioning properly is important. We will go over how to check the flame and troubleshoot any issues that may arise.
Checking the Flame
To check the flame of the pilot light, follow these steps:
- Remove the oven racks and turn the oven on to 350°F.
- Wait 10-15 minutes for the oven to heat up.
- Look through the oven window to see if the pilot light is still lit.
- If the pilot light is still on, open the oven door and observe the flame. It should be a steady blue flame with a small yellow tip.
- If the flame is not steady or is yellow and flickering, turn off the oven and try relighting the pilot light. If the problem persists, it may be a sign of a faulty thermocouple or gas valve and should be inspected by a professional.
By regularly testing the pilot light, you can ensure that your oven is functioning properly and avoid any potential safety hazards.
FAQs: How to Light Oven Pilot on Hotpoint?
We understand that some questions may arise when lighting the pilot on your Hotpoint oven. Here are a few frequently asked questions that may help you.
How Do I Know If My Pilot Light Is Out?
If your oven is not heating up properly, it may be due to a pilot light that has gone out. You can check this by looking at the bottom of your oven. If the pilot light is out, it will be obvious as there will be no flame.
Can I Relight The Pilot Light Myself?
Yes, you can. Relighting the pilot light is a simple process that can be done in just a few steps. However, it is important to follow the manufacturer’s instructions carefully to ensure that you do not cause any damage to your oven.
What Should I Do If I Can’t Relight The Pilot Light?
If you are having trouble relighting the pilot light, it may be time to call in a professional. They can help diagnose the issue and make necessary repairs to ensure your oven is working properly.
How Often Should I Check The Pilot Light?
It is a good idea to check the pilot light on your oven every few months to ensure it works properly. This can help prevent any issues with your oven in the future.
Can I Use A Lighter To Relight The Pilot Light?
No, using a lighter to relight the pilot light is not recommended. This can be dangerous and may cause damage to your oven. Instead, follow the manufacturer’s instructions carefully to relight the pilot light safely.


