Why Gas Stove Won’t Light but Smell Gas: Possible Causes and Solutions
Have you ever turned on your gas stove burners or oven and smelled the unmistakable odor of natural gas, yet the appliance won’t actually ignite? It’s an unnerving experience, leaving you wondering if you have a dangerous gas leak on your hands or if there’s a different issue at play.
The good news is, there are several possible reasons why your gas stove won’t light even though you smell gas coming from it. And many of them can be fixed yourself without requiring a costly appliance repair technician.
So why does your gas stove smell like gas but won’t light? The most common culprits are a faulty or dirty igniter, clogged burner tubes or ports, problems with the gas supply and valves, pilot lights that have gone out, damaged burner components, or an oven igniter issue. Identifying the specific cause is the first step toward getting your stove lighting properly again.
In this article, we’ll explore the various reasons your gas stove burners or oven won’t ignite despite detecting the smell of gas. You’ll learn how to troubleshoot the issue yourself, make easy DIY repairs when possible, and know when it’s safest to call in a professional appliance repair expert.
Let’s start by going over the first question that understandably pops into most homeowners’ minds when they smell gas yet their appliance won’t light:
Is It a Gas Leak?
The natural gas used in household appliances has an additive that makes it smell like rotten eggs or sulfur. This helps alert people to gas leaks that are otherwise invisible and odorless.
So it’s understandable to be concerned and worried when you smell gas coming from your stove but see no flames igniting. However, small whiffs of gas smell when trying to light your stove are usually normal and not necessarily indicative of a dangerous leak.
That said, it is crucial you know how to recognize the signs of a gas leak and respond appropriately:
- A very strong gas odor that does not dissipate quickly could suggest a leak
- You may hear an audible hissing noise
- Check for visual clues like bubbling water, dirt blowing, dead plants around gas lines
- If you suspect a gas leak, evacuate the house immediately and call the gas company or emergency services to inspect
- Never use any electronics, flip light switches, or do anything that could cause sparks while a leak is suspected
With those gas leak basics covered, let’s look at the more likely reasons your stovetop burners or oven won’t light up.
Faulty or Dirty Igniter
In order for your gas stove to produce a flame, a few things need to happen:
- You turn the control or knob to release gas
- Gas flows through the supply lines into the burner tubes
- An electric igniter creates a spark to ignite the gas
If you can smell gas but your burner isn’t lighting, there may be an issue with step #3 – the igniter system.
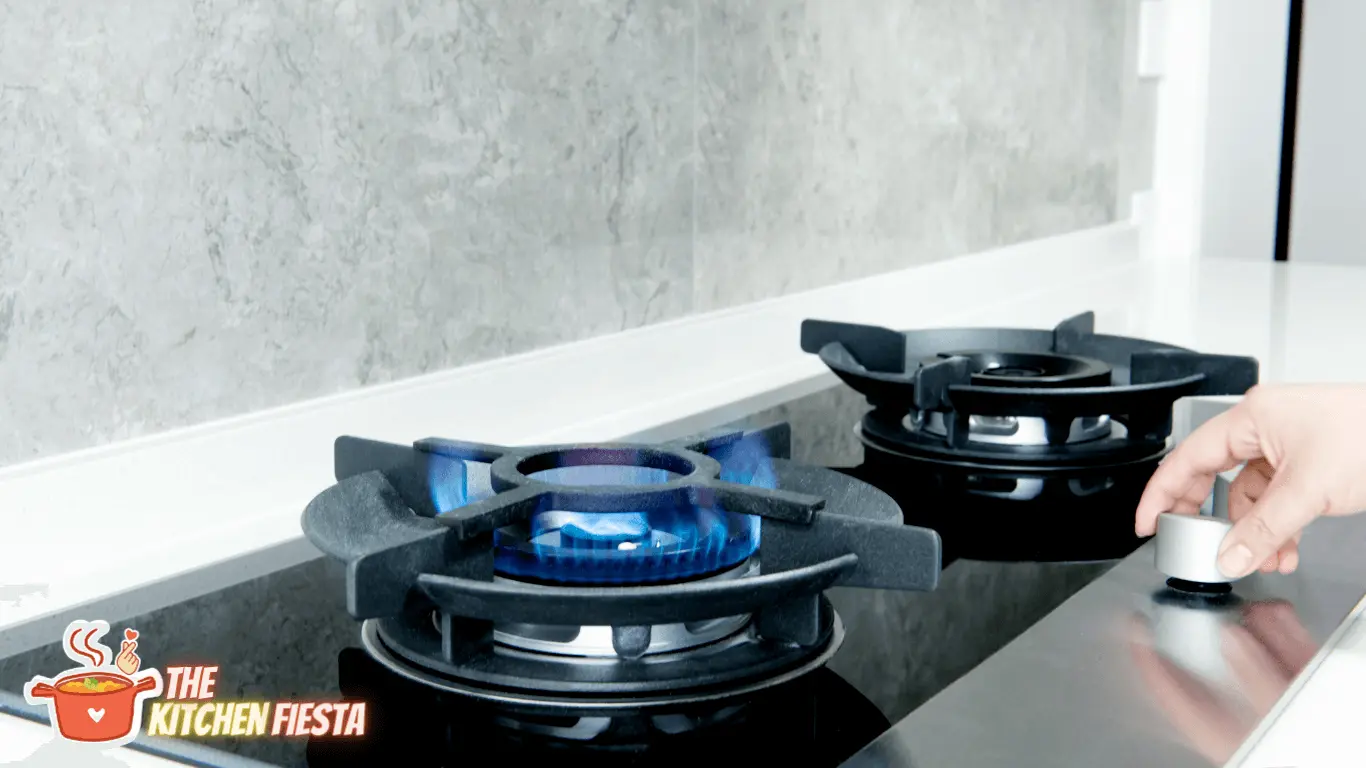
Many modern gas stoves use an electric igniter that creates a spark near the burner to light the gas. When the knob is turned, you’ll hear a distinctive clicking sound as the igniter activates.
If the igniter is:
- Broken
- Out of position
- Unable to create a strong spark
Then the gas will not be able to ignite. The burner won’t light even though gas is flowing.
Issues with faulty or failing igniters are one of the most common reasons a gas stove burner or oven won’t light. Thankfully they are fairly easy and inexpensive to replace on your own.
Here’s how to test and fix ignition problems related to the igniter:
- Listen for the clicking sound when turning a burner knob to ON. No click indicates a problem with the igniter
- Remove burner grates and caps to visually inspect the igniter – look for cracks or damage
- Clean any grease or debris off the igniter with rubbing alcohol and a cotton swab
- Replace the igniter if cleaning does not help – order by your stove brand and model number
- Carefully plug in and position the new igniter according to your stove repair manual
With the burner igniter working properly, you can move on to other potential issues preventing your burner from lighting.
Clogged Burner Ports and Tubes
The series of small holes all around the base of your burner caps are called burner ports. These allow air and gas to mix together prior to being ignited.
Over time, grease, food debris, and other gunk can clog up the burner ports and the internal tubes that supply gas to your burners. This can block the necessary gas flow required for ignition.
Some signs of clogged burner ports or tubes:
- Smell gas but burners take longer to ignite or only light at higher flame settings
- Burner flames are smaller or more uneven than normal
- You can smell gas but the burner doesn’t light at all
To clear out clogged ports and tubes:
- Remove the burner grates and caps from the cooktop
- Use a straightened paper clip, needle, or the tip of a safety pin to gently poke the debris out of each burner port
- Clean the external holes under running water and use a pipe cleaner to clear inside tubes
- Use a skinny bottle brush to scrub out tubes
- For tough buildup, utilize a baking soda and vinegar solution
- Always let parts dry fully before carefully replacing burners
Opening up the burner ports allows proper gas flow again so ignition can occur.
Problems with Gas Supply and Valves
For your burners to operate safely and effectively, gas must flow through the supply lines and valves unobstructed.
Interruptions in the gas supply will prevent the burners from lighting. The issue may lie with:
- Shut off valves being closed
- A leak or blockage in the external gas line running to your home
- An internal problem with the main gas valve or control valves
- Loose, broken, or damaged control knobs
If the issue is with your main gas line or valves, you will likely need to have a certified appliance technician inspect and repair the stove.
However, there are a few DIY troubleshooting steps you can try:
- Make sure all the control knobs are turned fully OFF when not in use
- Listen for any audible hissing that would indicate leaks
- Remove knobs and ensure valves are opening properly when turning them by hand
- Wipe down valves and apply penetrating oil to loosen sticky valves
- Turn all burners on to check if gas is flowing – listen closely
- Replace loose knobs that spin freely or don’t turn the valve
Restoring proper gas flow ensures your burners will ignite when you turn them on.
Pilot Lights That Have Gone Out
Many older gas oven and stove models use a pilot light that remains constantly lit in order to ignite the gas burners on demand.
If the pilot light happens to blow out due to a draft or other issue, then turning the knob will release gas into the burner but no flame will be there to ignite it. That’s why you’ll smell gas but not have fire when you go to turn a burner on.
Reasons the pilot light may go out include:
- Strong air currents or drafts blowing it out
- Dirt, dust or grease accumulated on the pilot cover
- Pilot tube coming loose or getting blocked
In most cases, you should be able to relight the pilot on your own using the igniter button and following your owner’s manual for the proper lighting sequence.
However, if the pilot goes out repeatedly or you’re unable to get it lit again, contact your gas company or appliance repair service to identify and fix the underlying issue.
Damaged or Improperly Seated Burner Components
Proper alignment and positioning of the burner caps, bases, and grate covers is necessary for ignition.
Over time, these components can get knocked askew when cleaning the burners or from banging pots and pans around. If the burner pieces aren’t lined up correctly, ignition issues result.
Check for things like:
- Burner caps that are cocked or angled to one side
- Grate covers that don’t lay flat
- Misalignment between burner caps and bases
- Broken or cracked burner caps
- Missing burner parts like caps or electrodes
Carefully realign any askew burner components and ensure they are seated flush and level. Replace any caps or other parts that are damaged or missing. Getting the burners properly configured again should allow gas ignition to work normally.
Oven Igniter Not Working
While a spark igniter is responsible for lighting the cooktop burners, most gas oven models instead use a glow igniter to initiate ignition inside the oven.
The oven igniter is designed to heat up to over 1000°F when the oven is turned on, which causes the gas to ignite. If it’s taking longer than normal for your oven to light, the igniter may be wearing out or have broken altogether.
Signs your oven igniter needs attention:
- Having to turn the oven knob multiple times for ignition to occur
- Smelling gas when baking but oven is slow to light
- Igniter staying on constantly during use when it should cycle on and off
- Cracks, damage or discoloration on the igniter that’s visible when pulled out
Consult your owner’s manual on how to access and replace the oven igniter. They are often easy to change out yourself. Compare the original broken igniter to online diagrams or take it to the hardware store to get an exact igniter replacement match.
When to Call a Repair Technician
While several gas stove ignition issues can be addressed with basic DIY troubleshooting and repairs, there are some instances when it’s safest to call in a certified appliance repair technician:
- You suspect an actual gas leak – immediately evacuate and call emergency services
- The pilot light repeatedly goes out and you can’t get it relit
- There are problems with the main gas line to your home or stove
- The issue seems to be with the primary gas control valve
- You smell gas but all burner components seem to be okay – could signify an internal leak
- The oven igniter replacement is complicated or confusing
- You don’t feel fully comfortable working on gas appliances
The cost of a service call is often worth it for the peace of mind knowing your stove’s ignition issues have been properly diagnosed and repaired. Find a local certified technician through your gas company, hardware stores, or online reviews.
Preventing Future Ignition Problems
To help avoid stove ignition issues going forward, incorporate these gas stove maintenance tips into your routine:
- Clean burners and igniters regularly to prevent blockages
- Wipe up any spills immediately to reduce risk of gas leaks
- Ensure burner caps, bases, and grates are always properly aligned after cleaning
- Check that control knobs turn easily by hand
- Protect pilot lights from drafts and keep supply tubes clear
- Verify oven and broiler igniters are intact with no cracks or damage
- Check flexible gas lines for wear and replace older ones
- Always turn gas valves fully OFF when not in use
- Have professionals inspect the gas lines/valves annually
Following the manufacturer’s recommendations for use and care can help your gas appliance operate safely for years to come.
Conclusion
Troubleshooting why your gas stove won’t light even though you detect the smell of gas can be unnerving at first. But in most cases, it simply indicates a maintenance issue like a faulty igniter versus a dangerous gas leak.
By identifying the specific reason your burners or oven won’t ignite, you can often make repairs yourself or know when to contact a technician. Getting everything working properly again takes patience but allows you to feel at ease using your gas appliance.
The key takeaways are:
- Small whiffs when lighting burners are normal, but larger gas smells may indicate a leak
- Igniters, clogged ports, gas supply issues, and pilot lights are common culprits
- Many fixes like replacing igniters or clearing ports are DIY-friendly
- When in doubt, call a certified gas appliance pro for repairs
- Prevent issues through routine stove maintenance and care
Hopefully now you feel equipped to get your frustrating gas stove that won’t light back to working order. The satisfaction of completing the repair yourself makes the time spent troubleshooting worthwhile.

