What Does Simmer Look Like? A Visual Guide to Simmering Techniques
Cooking can seem like a mysterious art to the uninitiated. Stovetop bubbling can confuse even experienced cooks sometimes. Simmering and boiling may appear similar at first glance, but they are distinctly different cooking techniques.
Being able to tell the difference between simmering and boiling is an essential cooking skill every home cook should master. But what exactly does simmering look like? And how do you know when you’ve achieved a proper simmer?
In this detailed guide, we’ll answer the question:
What does simmering look like?
We’ll explain everything you need to know about achieving the perfect simmer, from what it looks like visually to practical tips for simmering success. You’ll learn:
- The precise temperature range for a proper simmer
- How to identify when a liquid is simmering based on its appearance
- The key visual differences between simmering and boiling
- When to choose simmering over boiling for certain cooking methods
- Common mistakes to avoid
- Useful tools and cookware for consistent simmering
- Example recipes to try simmering at home
Once you understand the telltale signs of a proper simmer, you’ll level up your stove-top skills and become a more confident cook. So let’s get simmering!
What is Simmering?
Before jumping into what simmering looks like, let’s define what it is exactly.
Simmering is a gentle cooking technique where a liquid is heated to a temperature range between 185°F – 205°F. This is below the boiling point (212°F at sea level).
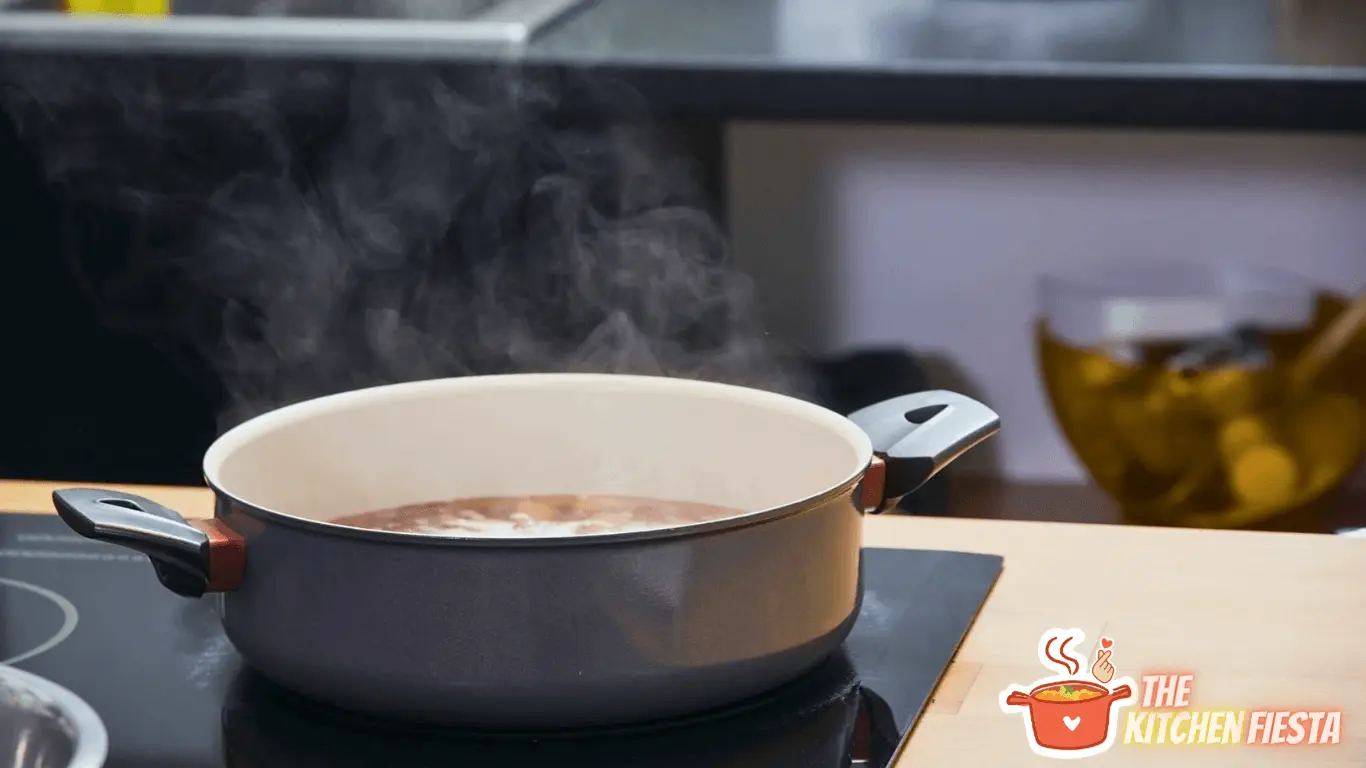
At a simmer, small bubbles will rise slowly from the bottom of the pot and break gently on the surface. The surface will quiver slightly from the bubbling action happening below.
Simmering brings a liquid up to a gentle boil temperature, but not a full rolling boil. It’s a subtle, delicate bubbling rather than vigorous boiling.
Simmering vs. Boiling – What’s the Difference?
Simmering and boiling are two moist cooking methods that are sometimes confused with each other or used interchangeably. But there are important differences between simmering vs boiling:
- Temperature range – Simmering 185°F – 205°F, Boiling 212°F+
- Bubble behavior – Small bubbles gently rising and popping vs. large bubbles rapidly rising and erupting
- Water movement – Surface quivers vs. surface rapidly churns and rolls
- Intensity – Gentle bubbling vs. vigorous bubbling
As you’ll see, simmering and boiling create distinctly different visual effects.
What Does Simmering Look Like?
Now that we know what defines simmering, what should you look for to know your liquid is properly simmered? Here are the telltale visual signs your liquid has reached a simmer:
1. Small bubbles steadily rising
When a liquid reaches a simmer, small bubbles will begin rising steadily from the bottom of the pot to the surface. The bubbles start down below, likely forming along the bottom and sides where the pan is hottest.
As the bubbles make their way up, they break gently on the surface, creating a subtle quivering across the top of the liquid.
The bubbles are small, consistent, and gentle as they rise and break at the surface. This differs from boiling where large, aggressive bubbles violently erupt on the surface.
2. Surface quivering
The surface of a simmering liquid will quiver slightly from the activity of the bubbles rising and popping below.
You won’t see a rolling or churning boil on the surface like you would at higher temperatures. But it’s not completely still either. The surface will show subtle signs of the bubbling happening beneath.
3. Tiny bubbles along pot sides and bottom
Take a peek at the pot sides and bottom when simmering. You should see a trail of tiny bubbles clinging to the pan as they make their way up. The bubbles will be small and steadily rising.
Again, this differs from boiling where you would see larger, faster moving bubbles churning in the pan.
4. Irregular wisps of steam
Over a simmering liquid, you’ll notice irregular wisps of steam or vapor rising from the surface.
This differs from boiling where you often see columns of steam rapidly rising and condensing above the rolling surface.
The wisps indicate the water is heating up but is not yet at a full boil.
Examples of Simmering Liquids
To visualize these simmering signs, here are a few examples so you know what to look for:
Simmering Water
Plain water is one of the easiest liquids to observe simmering behavior. As the water heats up, small bubbles will begin forming at the bottom and sides of the pot. The bubbles make their way to the surface where they pop in a steady, gentle rhythm.
The surface quivers slightly rather than churns. And wisps of steam float above the water rather than dense columns of steam.
Simmering Stock
When simmering stock, broth or soup, it may look slightly more active than plain water thanks to particles and proteins in the liquid. But the bubble behavior remains small and gentle, rising from the bottom to lightly break at the surface.
You’ll see the same quivering surface and wisps of steam as with simmering water.
Simmering Sauce
For thicker liquids like sauces, the bubbling action will be muted or nearly invisible thanks to the viscosity. But you can observe the quivering surface and rising wisps of steam to know it’s simmering.
You may also see a stray bubble or two slowly rise from the depths to pop gently at the top.
Simmering vs. Boiling – What’s the Difference?
Now that you know what to look for when simmering, how does it compare visually to boiling? Here are the key differences between simmering vs boiling:
Temperature
- Simmering – 185°F to 205°F
- Boiling – 212°F and up
Simmering happens below the boiling point, while boiling occurs once the liquid reaches boiling temp.
Bubble Behavior
- Simmering – Small bubbles rising slowly and steadily, breaking gently at the surface
- Boiling – Large, rapid bubbles erupting aggressively on the surface
Bubbles behave differently, with simmering creating small gentle bubbles and boiling making large, energetic bubbles.
Water Movement
- Simmering – Surface quivers slightly from bubbles below
- Boiling – Surface rapidly churns and rolls as bubbles burst
The liquid’s surface movement reflects the bubbles’ energy, with simmering creating a gentle quiver and boiling a rough churn.
Steam
- Simmering – Irregular wisps of steam rising above the surface
- Boiling – Dense columns of steam rapidly rising and condensing above the churning surface
The steam’s appearance indicates the level of heat energy, with wisps at a simmer and full columns at a boil.
Why Simmer Instead of Boil?
If boiling and simmering look so different, when should you choose one technique over the other? Here are some benefits of simmering and when to use it:
Gentle poaching
Delicate foods like eggs and fish can easily overcook with intense boiling heat. A gentle simmer allows them to cook through without jostling around.
Infusing flavor
Long simmering infuses flavor into dishes like stock, sauces, and stews. Extended gentle bubbling fully extracts flavors.
Tenderizing
Tough cuts of meat require long cooking over low heat to break down connective tissues. A simmer provides steady gentle heat.
Thickening sauces
As extra moisture evaporates from a simmering sauce, the remaining liquid reduces and thickens.
Keeping food warm
Simmering keeps already cooked food piping hot without continuing to cook the ingredients.
Preserving structure
Fragile foods like veggies and eggs keep their delicate shape and texture with gentle simmering.
So in summary, choose simmering when you want delicate, flavorful results!
Tips for Achieving the Perfect Simmer
Now that you know what simmering is and how to identify it, here are some useful tips for achieving a perfect simmer every time:
Start with a boil
Bring your liquid to a rolling boil first over high heat. This allows flavors to quickly meld and the liquid to come up to temperature fast.
Lower the heat
Once boiling, reduce the heat to low or medium-low to achieve a gentle simmer. The bubbles will transition from rapid large bubbles to slow, small bubbles.
Watch the bubbles
Observe the bubbles rising to gauge if your heat is correct for simmering. Adjust the heat gradually if needed.
Use a thermometer
A simmer happens between 185°F – 205°F. An instant read thermometer eliminates guessing.
Stay nearby
Don’t leave a simmering pot unattended. The heat can creep up. Keep an eye on those bubbles!
Stir occasionally
Gently stirring occasionally prevents burning and distributes heat evenly.
Use thick cookware
Pots and pans that evenly retain heat will help maintain a steady simmer temperature.
Common Simmering Mistakes
It’s easy to stray from a perfect simmer. Avoid these common simmering mistakes:
- Simmering at too high a heat so bubbles are too large and rapid
- Not reducing the heat enough after boiling to maintain gentle bubbling
- Using thin cookware that doesn’t retain heat well
- Leaving simmering food unattended causing the temperature to increase
- Not paying close attention to bubble behavior and size
Be vigilant with your heat adjustment, use proper cookware, watch those bubbles closely, and stay nearby to prevent simmering mishaps!
Sample Simmering Recipes
Here are some example recipes that use the simmering technique to create delicious results:
Beef Stew
Browning cubed beef chuck then letting it simmer for hours in the flavorful broth makes it fall-apart tender.
Chicken Stock
Gently simmering chicken bones, vegetables and herbs extracts the most flavorful and aromatic stock.
Risotto
Frequently stirring Arborio rice as it simmers in broth gives risotto its signature creamy texture.
Marinara Sauce
Simmering canned whole tomatoes with garlic, onion and herbs creates a sweet, rich sauce.
Poached Salmon
Poaching salmon fillets by simmering them gently in liquid keeps the fish tender and moist.
Key Takeaways on Simmering
To wrap up, here are the key points to keep in mind when achieving and maintaining a proper simmer:
- Simmering happens between 185°F – 205°F – below the boiling point
- Look for small, steady bubbles gently rising from the bottom to break at the surface
- The liquid’s surface will quiver slightly rather than churn vigorously
- Use simmering when you want delicate cooking with full flavor infusion
- Reduce the heat after boiling and watch the bubble behavior carefully
- Use thick, evenly heating cookware to maintain temperature
- Keep a close eye on things and adjust heat gradually as needed
Understanding what simmering looks like visually will help you gain confidence using this essential cooking technique. Soon you’ll be able to recognize a proper simmer on sight.
Armed with this in-depth guide, you now have a complete understanding of simmering vs boiling, when to use each method, and how to achieve simmering success. So grab a pot, a wooden spoon, and start putting your new simmering skills to work in the kitchen!
Conclusion
With the information provided in this guide, you should now have a clear visual understanding of what simmering looks like and how to identify when you’ve achieved a proper gentle simmer.
We covered the precise temperature range of 185°F – 205°F for simmering liquid and compared the appearance of simmering vs. boiling side-by-side so you can recognize the differences.
You learned how to identify telltale simmering signs like small, steady bubbles, a quivering liquid surface, tiny bubbles clinging to the pot sides and bottom, and wisps of steam rising above the liquid.
We discussed the advantages simmering offers over boiling for delicate cooking tasks like poaching fish, infusing stocks and sauces, braising meats, and more.
And you got useful tips for achieving successful simmering results every time.
The next time you’re cooking on the stovetop, remember to observe the bubble behavior closely, adjust the heat gradually, use proper cookware, and keep a vigilant eye. With practice, you’ll be able to recognize a proper simmer on sight.
Now that you know exactly what simmering looks like, you can level up your culinary skills and become a more confident, capable home cook. Start putting your new simmering prowess to work on broths, sauces, eggs, tender meats, and more. Happy simmering!

