Set the Clock on Your KitchenAid Oven. (Simple Steps)
Setting the clock on a KitchenAid oven is a simple task that can be completed in just a few steps. Whether you have a KitchenAid Superba convection oven or a different model, the process is similar and easy to follow. With just a few button presses, you can have your oven’s clock set and ready to go. How to easily Set the Clock on Your KitchenAid Oven?
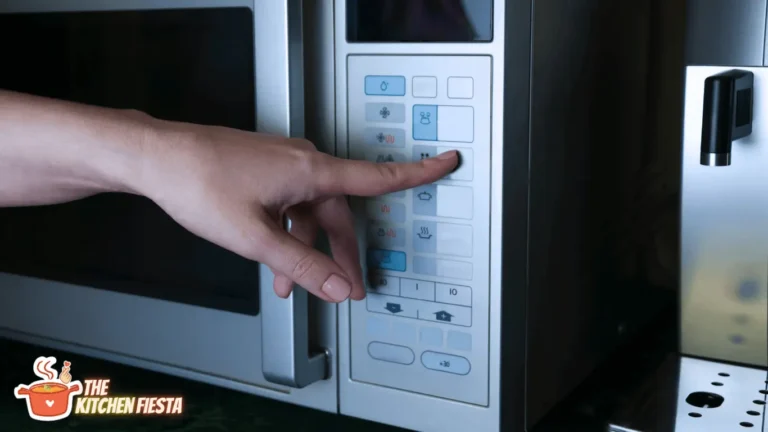
To set the clock on a KitchenAid oven, locate the clock setting feature on the touch control panel. This button is typically on the lower row on the right side of the panel. Once you have found the button, you can press it to engage the clock setting feature and begin setting the time. From there, you must follow a few simple steps, which may vary slightly depending on your specific model.
Locating the Clock Setting
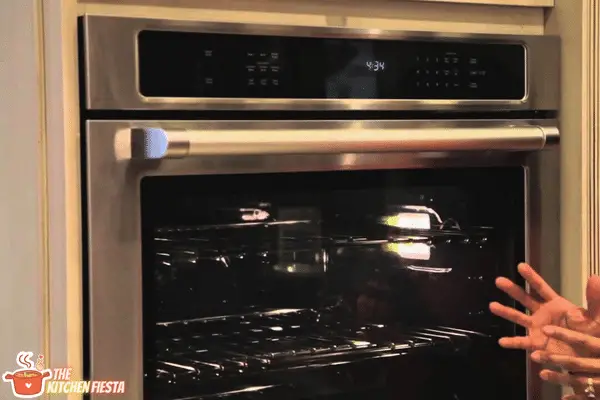
To set the clock on a KitchenAid oven, the first step is to locate the clock setting on the oven’s control panel. The clock setting is typically found on the control panel of the oven and may be labeled as “Clock,” “Clock Set,” or “Set Clock.”
Once you have located the clock setting, press the button to enter the clock setting mode. This will allow you to set the time on the oven’s clock.
The location of the clock setting may vary depending on the model of the KitchenAid oven. Therefore, referring to the user manual for specific instructions on locating the clock setting for your particular model is recommended.
Sometimes, the clock setting may be accessed through a menu on the control panel. This menu may be accessed by pressing a “Menu” or “Options” button on the control panel. Once in the menu, look for an option labeled “Clock” or “Set Clock” to access the clock setting mode.
Setting the Clock
To set the clock on a KitchenAid oven, follow these four simple steps:
Step 1: Press the Clock Button
The first step in setting the clock on a KitchenAid oven is to locate the clock button. On most models, the clock button is labeled with a clock icon or the word “clock.” Once you have located the button, press it to begin setting the time.
Step 2: Set the Hours
After pressing the clock button, you will need to set the hours. This can typically be done using the number pad on the oven’s control panel. Enter the correct hour using the number pad, then move on to the next step.
Step 3: Set the Minutes
Once you set the hours, you must set the minutes. This can be done the same way as setting the hours, using the number pad on the control panel. Enter the correct minute and move on to the final step.
Step 4: Press the Clock Button Again
The final step in setting the clock on a KitchenAid oven is to press the clock button again. This will save the time you have set and activate the clock. Once you have completed this step, the clock on your KitchenAid oven should be set to the correct time.
The exact process for setting the clock on a KitchenAid oven may vary depending on the model you have. But, the steps outlined above should apply to most KitchenAid ovens.
Troubleshooting
Clock Not Responding
If the clock on your KitchenAid oven is not responding, you can try a few things to troubleshoot the issue. First, make sure the oven is properly connected to the power source. If it is, try resetting the oven by unplugging it for a few minutes and then plugging it back in. If the clock does not respond, check if error codes are displayed on the oven’s screen. If there are, consult the user manual for instructions on addressing the issue.
Clock Display Not Working
If the clock display on your KitchenAid oven is not working, you can try a few things to troubleshoot the issue. First, check if the oven is properly connected to the power source. If it is, try resetting the oven by unplugging it for a few minutes and then plugging it back in. If the clock display still does not work, check if any error codes are displayed on the oven’s screen. If there are, consult the user manual for instructions on addressing the issue.
Another possible reason for a non-working clock display is a faulty clock control board. If this is the case, it may need to be replaced. Contact a qualified technician for assistance with diagnosing and repairing the issue.
Sometimes, the clock display may be working, but the time needs to be corrected. If this is the case, follow the instructions in the user manual to set the correct time on the oven. This may involve pressing the “clock” or “tool” button on the oven, then using the number keys to set the time. If you need help with the clock display or set the correct time, consult the user manual or contact a qualified technician.
Bottom Line
Specific steps required to set the clock may vary depending on the model of the KitchenAid oven. Users should always refer to the user manual for their specific oven model to ensure they follow the correct instructions.
FAQs: Set the Clock on Your KitchenAid Oven
How Do I Turn Off The Control Lock On My KitchenAid Oven?
To disable the control lock feature on your KitchenAid oven, ensure that both the oven and timer are switched off. Then, press and hold the “0” keypad for about 3 seconds. If the control lock is enabled, you will hear a tone and see the message “CONTROL LOCKED” displayed. To unlock the control, simply repeat the process.
How Do I Keep My KitchenAid Oven From Beeping?
To turn off the beep sound on your KitchenAid oven, follow these steps: Press the “Beeper Volume” button on the control panel, adjust the volume level using the “+” or “-” buttons, and press “Start” to save the changes.
How Do I Set The Temperature On My KitchenAid Oven?
To set the temperature on your KitchenAid oven, simply press the “Bake” or “Broil” button and then use the “+” or “-” buttons to select your desired temperature. Once you have chosen the temperature, press the “Start” button to initiate the preheating process.
How Do I Clean My KitchenAid Oven?
For a thorough cleaning of your KitchenAid oven, start by removing all racks and accessories from inside. Wipe down the interior using a damp cloth to eliminate any debris or food particles. To tackle stubborn stains, utilize a non-abrasive cleaner and gently scrub the affected areas. Rinse the interior with water and ensure it is completely dry by using a clean cloth. Lastly, reposition the racks and accessories back into the oven, completing the cleaning process.
How Do I Troubleshoot My KitchenAid Oven?
If you’re experiencing issues with your KitchenAid oven, here are some troubleshooting steps to try. First, make sure that the oven is properly plugged in and that the circuit breaker is on. Ensure that the oven door is properly closed and that the oven is set to the correct temperature and cooking mode. If the issue persists, try resetting the oven by turning it off and then back on again. These simple steps may help resolve your oven’s issues.

