How To Fix Ice Maker: A Comprehensive Guide
Introduction
Having a reliable ice maker is one of those modern conveniences we often take for granted in our refrigerators. That is, until the day you open the freezer only to find your ice maker has stopped working. Whether it’s not producing any ice, making small or misshapen cubes, or continuously running, a broken ice maker can be a real inconvenience.
Luckily, many ice maker issues have relatively simple fixes that you can tackle yourself, saving you the cost and hassle of a professional repair. In this comprehensive guide, we’ll cover the most common ice maker problems, walk you through troubleshooting steps, provide instructions for DIY repairs, and share tips for maintaining your ice maker for optimal long-term performance.
Common Ice Maker Problems
Before we dive into the repair process, let’s first take a look at some of the most frequent issues that can arise with residential ice makers:
No Ice Production
If your ice maker isn’t producing any ice at all, there could be a few different causes, such as:
- Interrupted power supply to the ice maker
- Clogged or frozen water supply line
- Faulty water inlet valve
- Issues with the ice maker control arm or mechanical components
Small or Misshapen Ice Cubes
Ice cubes that are smaller than normal or irregularly shaped may indicate:
- Low water pressure or flow to the ice maker
- Blocked or restricted water supply line
- Problems with the water fill system or mold
- Incorrect temperature setting in the freezer
Ice Maker Won’t Stop Producing Ice
On the other end of the spectrum, an ice maker that keeps churning out more and more ice, even when the bin is full, could be due to:
- A stuck or malfunctioning control arm
- Issues with the ice maker’s thermostat or other electrical components
- Incorrect freezer temperature setting
Slow Ice Production
If your ice maker used to produce ice quickly but has slowed down over time, common culprits include:
- Gradually increasing mineral buildup in the water line or ice mold
- Failing ice maker motor or gearbox
- Inadequate freezer temperature
Strange Tasting or Smelling Ice
Foul-tasting or odorous ice can often be traced back to:
- A dirty or clogged water filter
- Bacterial growth in the ice maker components
- Absorption of freezer odors
Understanding these common issues will help guide you through the troubleshooting and repair process. Now, let’s look at what you’ll need to address these problems.
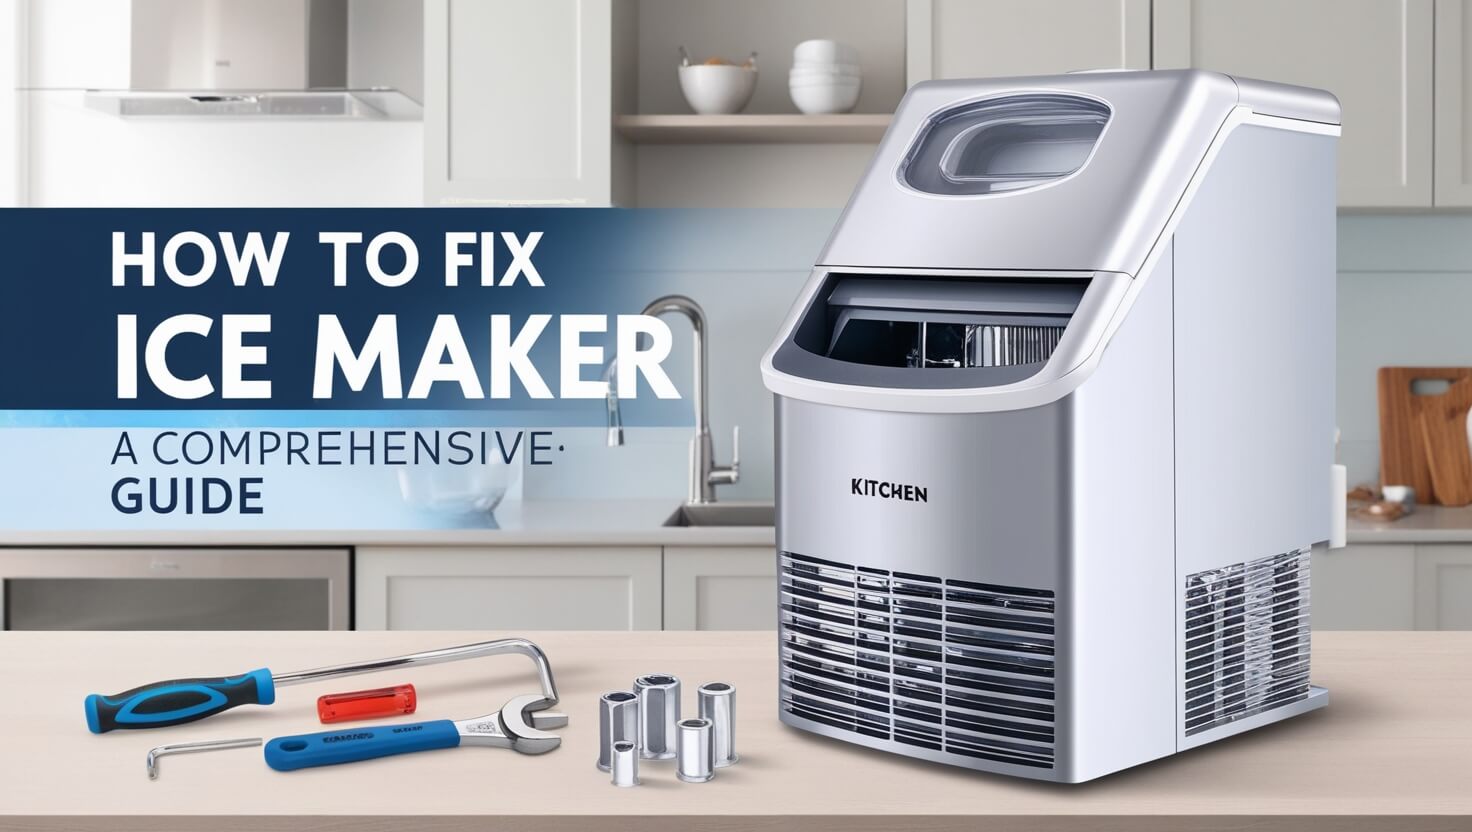
Tools and Materials Needed for Ice Maker Repair
Before diving into any ice maker repairs, make sure you have the following tools and materials on hand:
- Screwdrivers (both flat-head and Phillips head)
- Pliers or wrench to disconnect water lines
- Multimeter to test electrical components
- Replacement water inlet valve (if needed)
- Replacement ice maker assembly (if needed)
- Cleaning supplies (like vinegar, baking soda, and a small brush)
- Towels or rags to catch any water spills
Having these items ready will make the repair process much smoother and minimize frustration. Additionally, be sure to follow all necessary safety precautions, such as unplugging the refrigerator and shutting off the water supply, before getting started.
Troubleshooting Your Ice Maker
When your ice maker stops working properly, the first step is to thoroughly inspect and diagnose the issue. This troubleshooting process can help you pinpoint the root cause and determine the best course of action.
Checking the Power Supply
One of the most common causes of an ice maker not working is a disruption in the power supply. Start by verifying that the ice maker is receiving power:
- Locate the ice maker’s electrical connection, usually at the back of the refrigerator.
- Use a multimeter to check for voltage at the connection points. If there’s no power, the issue may be with a tripped circuit breaker or a faulty electrical component.
- If the electrical connection seems fine, move on to inspecting the water supply.
Inspecting the Water Supply Line
Next, examine the water line that feeds into your ice maker. Look for any kinks, clogs, or freezing that could be blocking the water flow:
- Trace the water line from the back of the fridge to the water supply valve, usually located behind or underneath the refrigerator.
- Disconnect the water line and check for any obstructions or ice build-up. You can use a hair dryer or warm water to carefully melt any frozen sections.
- If the water line seems clear, the issue may lie with the water inlet valve.
Examining the Water Inlet Valve
The water inlet valve is responsible for controlling the flow of water into the ice maker. A faulty valve can prevent water from reaching the ice maker, leading to no ice production.
- Locate the water inlet valve, typically at the back of the refrigerator.
- Disconnect the valve’s electrical connections and use a multimeter to test for continuity. If there’s no continuity, the valve needs to be replaced.
- You can also try manually opening and closing the valve to see if it’s sticking or not operating properly.
Assessing the Ice Maker Assembly
If the power and water supply all seem to be functioning correctly, the issue may lie within the ice maker assembly itself. Carefully inspect the various components:
- Check the ice maker’s control arm, which triggers the ice-making cycle. Make sure it moves freely and isn’t obstructed.
- Examine the ice mold for any cracks, damage, or mineral buildup that could affect ice production.
- Inspect the ice ejector blades and motor to ensure they’re operating as they should.
By methodically working through these troubleshooting steps, you’ll be able to pinpoint the root cause of your ice maker’s malfunction and determine the best solution.
Step-by-Step Guide to Fixing Common Ice Maker Issues
Now that you’ve identified the problem, it’s time to start the repair process. Here are the steps to address some of the most common ice maker issues:
Resolving a Frozen Water Line
If your ice maker isn’t producing any ice due to a frozen water line, follow these steps:
- Unplug the refrigerator and shut off the water supply.
- Remove any food or items from the freezer to access the ice maker more easily.
- Use a hair dryer set to a low heat setting to slowly thaw the frozen section of the water line. Avoid directly pointing the dryer at any plastic components.
- Once the ice has melted, reconnect the water line and restore power to the fridge.
- Check to see if the ice maker is now receiving water and producing ice.
Replacing a Faulty Water Inlet Valve
If your testing revealed a broken water inlet valve, you’ll need to replace it:
- Shut off the water supply and unplug the refrigerator.
- Locate the water inlet valve, usually at the back of the fridge, and disconnect the water line and electrical connections.
- Remove the old valve and install the replacement, making sure all connections are secure.
- Turn the water supply back on and check for any leaks.
- Plug the fridge back in and see if the new valve is allowing water to flow to the ice maker.
Fixing a Jammed or Broken Ice Maker Arm
A stuck or damaged ice maker control arm can prevent the unit from operating correctly:
- Unplug the fridge and remove any ice buildup around the arm.
- Gently try to move the arm up and down to ensure it’s not obstructed.
- If the arm is broken or won’t move freely, you’ll need to replace the entire ice maker assembly.
- Carefully disconnect the old ice maker, then install the new one according to the manufacturer’s instructions.
- Restore power and water supply, then check that the new ice maker is functioning properly.
Addressing Ice Overproduction Issues
If your ice maker won’t stop making ice, even with a full bin, the problem may be with the thermostat or control arm:
- Locate the ice maker’s control arm and make sure it’s moving freely and not stuck in the “on” position.
- Check the freezer temperature setting and adjust it to the manufacturer’s recommended level, typically around 0°F.
- If the control arm and temperature seem fine, the issue may be with the ice maker’s thermostat or other electrical components. In this case, you’ll likely need to replace the entire ice maker assembly.
Solving Water Leakage Problems
Leaks around the ice maker can be caused by a variety of issues, including:
- Cracked or damaged ice mold
- Worn or misaligned gaskets
- Loose water line connections
- Malfunctioning water fill valve
Start by inspecting the ice maker for any visible cracks or damage. Then, check all the fittings and connections to ensure they’re tight and not leaking. If necessary, replace any worn or damaged components to stop the leak.
Remember, safety should always be your top priority when working on any appliance repairs. Unplug the refrigerator, turn off the water supply, and take appropriate precautions to avoid electrical shocks or water leaks.
Maintaining Your Ice Maker for Optimal Performance
Proper maintenance is key to keeping your ice maker running smoothly for years to come. Here are some tips:
Regular Cleaning Techniques
Over time, mineral deposits, bacteria, and other contaminants can build up in the ice maker, affecting both the quantity and quality of the ice produced. To clean the ice maker:
- Unplug the refrigerator and shut off the water supply.
- Remove the ice maker’s removable components, such as the ice bin, mold, and any trays or covers.
- Clean these parts using a mixture of warm water and white vinegar or a mild detergent. Avoid abrasive cleaners that could damage the components.
- Use a small brush or toothpick to gently remove any stuck-on debris or mineral deposits.
- Rinse thoroughly and allow all parts to fully dry before reassembling the ice maker.
Replacing the Water Filter
Most refrigerators with built-in ice makers have a water filter that should be replaced every 6 to 12 months, or as recommended by the manufacturer. A clogged or dirty filter can restrict water flow and lead to poor ice production.
Adjusting Ice Maker Settings
If you notice your ice cubes are consistently too small or too large, check the ice maker’s water fill settings. Many models have an adjustment screw or dial that controls the amount of water dispensed into the mold. Consult your owner’s manual for specific instructions on how to fine-tune these settings.
By staying on top of regular maintenance and making minor adjustments as needed, you can help ensure your ice maker continues to perform at its best.
When to Call a Professional
While many ice maker repairs can be tackled as a DIY project, there are some instances when it’s best to call in a professional appliance repair technician:
- If you’re uncomfortable working with electrical components or water lines
- If the ice maker is part of an integrated refrigerator system that requires specialized expertise
- If the issue seems to be caused by a more complex, underlying problem with the refrigerator
- If you’ve tried troubleshooting and DIY repairs but the problem persists
A qualified technician will have the proper tools, experience, and knowledge to diagnose and fix more complicated ice maker problems quickly and safely. They can also provide guidance on whether repairing the existing ice maker is the best course of action or if replacement is the better option.
Choosing a New Ice Maker: Factors to Consider
If your troubleshooting efforts have led you to the conclusion that a full ice maker replacement is necessary, here are some key factors to consider when selecting a new unit:
- Compatibility – Make sure the new ice maker is designed to fit your specific refrigerator model and can connect to the existing water and electrical lines.
- Capacity – Consider how much ice your household needs and choose an ice maker with a corresponding production capacity.
- Features – Decide if you need any special features like built-in water filtration, self-cleaning capabilities, or storage bin size.
- Energy Efficiency – Look for ENERGY STAR certified models to save on your utility bills.
- Reputation – Research brands known for reliability and customer satisfaction when it comes to ice makers.
Investing in a high-quality, properly sized ice maker will help ensure smooth, long-lasting performance and minimize the likelihood of future breakdowns.
DIY Ice Maker Repair vs. Professional Service: Pros and Cons
When faced with a malfunctioning ice maker, you’ll need to weigh the pros and cons of attempting a DIY repair versus calling in a professional appliance repair technician:
DIY Repair Pros:
- Can be more cost-effective than hiring a professional
- Allows you to learn more about how your ice maker works
- Gives you a sense of accomplishment from fixing it yourself
DIY Repair Cons:
- Risk of causing further damage if you’re not familiar with the repair process
- Potential safety hazards when working with electrical and plumbing components
- Time-consuming if you run into unexpected complications
Professional Repair Pros:
- Technicians have the proper tools, training, and expertise to diagnose and fix the problem efficiently
- Repairs often come with a warranty for parts and labor
- Professionals can identify and address any underlying issues that may be causing the ice maker problem
Professional Repair Cons:
- Generally more expensive than DIY repairs
- You’ll have to schedule an appointment and wait for the technician to arrive
- Potential for higher labor costs depending on the complexity of the repair
Ultimately, the decision comes down to your comfort level, the severity of the issue, and whether you have the time and resources to tackle the repair yourself. For straightforward problems, a DIY approach can be a great way to save money. But for more complex or risky repairs, calling in a professional may be the safer and more reliable option.
Frequently Asked Questions About Ice Maker Repairs
Q: What’s the most common reason an ice maker stops working? A: The most frequent cause of ice maker malfunctions is a blockage or freeze-up in the water supply line. This can prevent water from reaching the ice mold, resulting in no ice production.
Q: How do I know if my water inlet valve is bad? A: Signs of a faulty water inlet valve include no water flowing to the ice maker, even when the valve is open, or the valve not opening and closing properly when triggered. You can test the valve’s continuity with a multimeter to determine if it needs to be replaced.
Q: Can I fix a leaking ice maker myself? A: In many cases, yes. Leaks are often caused by cracked or damaged components, worn gaskets, or loose water line connections. Inspect the ice maker assembly, replace any faulty parts, and ensure all fittings are secure to stop the leak.
Q: How often should I clean my ice maker? A: It’s recommended to clean your ice maker every 6 months to 1 year, or more frequently if you notice any buildup, strange tastes, or odors in the ice. Regular cleaning helps prevent mineral deposits and bacterial growth that can impact ice production and quality.
Q: My ice maker keeps making ice even when the bin is full. What’s wrong? A: A stuck or malfunctioning control arm is the most common reason an ice maker won’t stop producing ice. The control arm triggers the ice maker to stop when the bin is full. If it’s not working properly, the ice maker will continue making ice endlessly.
Q: Do I need to replace the entire ice maker if one component is broken? A: Not necessarily. Many individual ice maker components, such as the water inlet valve, control arm, or ice mold, can be replaced independently if they are the root cause of the problem. However, if multiple components are failing or the entire assembly seems worn out, replacing the full ice maker unit may be the best long-term solution.
Conclusion: Keeping Your Ice Maker in Top Shape
A well-functioning ice maker is one of those modern conveniences we often take for granted – until the day it stops working properly. Fortunately, many common ice maker problems have relatively straightforward solutions that you can tackle yourself with the right knowledge and tools.
By following the troubleshooting steps and repair instructions outlined in this guide, you’ll be equipped to diagnose and fix a wide range of ice maker issues, from frozen water lines to faulty components. And by staying on top of regular maintenance, you can help ensure your ice maker continues to reliably deliver fresh, delicious ice for years to come.
Remember, if you ever feel uncomfortable working on your refrigerator’s ice maker, don’t hesitate to call in a professional appliance repair technician. Their expertise can provide you with a safe and effective solution, giving you peace of mind and getting your ice maker back up and running smoothly.

