How to Easily Convert a Natural Gas Stove to Use Propane?
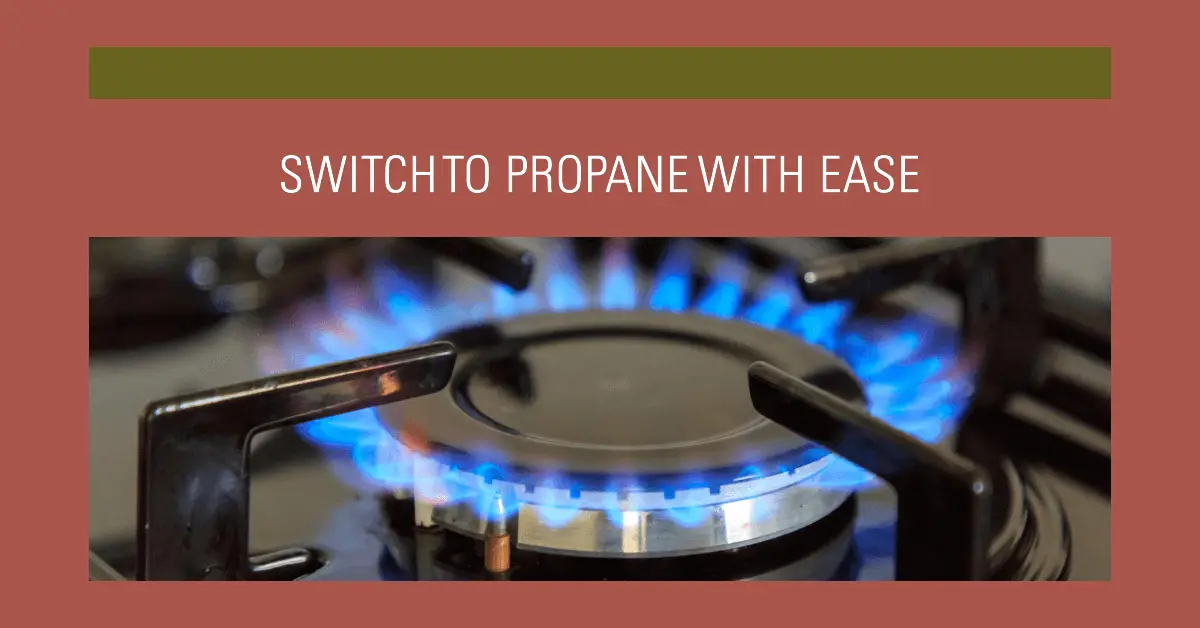
Have you ever moved into a new home only to find that your natural gas stove doesn’t match up with the propane fuel source available? Or perhaps rising natural gas prices have you thinking about switching over to propane to save on your monthly utility bills? Converting a natural gas appliance like a stove to use propane is very possible with the right tools and knowledge.
Can you convert a natural gas stove to use propane? The short answer is yes – with the proper conversion kit and some adjustments, natural gas stoves can be modified to burn propane fuel.
In this detailed guide, we’ll cover everything you need to know to safely and successfully convert your natural gas stove to propane, including:
- The key differences between natural gas and propane and how they affect conversion
- The required materials and tools for the conversion
- A step-by-step guide to the conversion process
- Tips for locating and replacing natural gas orifices
- How to adjust air shutters and install a new propane gas regulator
- Checking for gas leaks and testing the burners
- Propane safety and maintenance
- The benefits of switching your stove to propane
- Frequently asked questions about converting to propane
So if you’re ready to switch your cooking fuel source and want to learn how to convert a natural gas stove to propane, read on!
Understanding the Difference Between Natural Gas and Propane
Before we get into the step-by-step conversion process, it’s important to understand the key differences between natural gas and propane and how they affect stove performance.
Natural gas is piped directly into homes and businesses through underground gas lines. It is considered a dry gas, meaning it is mostly pure methane without many other liquids or impurities mixed in. Natural gas has a lower gas pressure and requires more volume to produce the same amount of BTUs as propane.
Propane, also known as LP gas (liquefied petroleum gas), is bottled and stored in pressurized tanks outside of homes and transported on trucks. Propane contains other gases like butane and propylene to give it high energy density. This means more BTUs can be provided with less volume of fuel. Propane burns at a higher gas pressure than natural gas.
These differences in gas composition and pressure mean that appliances need different sized orifices, burners, and regulators based on the fuel type in order to control and direct the gas flow and flame properly.
The key is to make adjustments so that the propane gas entering the stove at higher pressure is reduced to produce a flame that is comparable to what the appliance was designed to accommodate with natural gas.
What You’ll Need to Convert a Natural Gas Stove to Propane
Converting a natural gas stove over to propane requires getting some new equipment and parts. Here’s what you’ll need:
- Propane conversion kit – This contains the new propane orifices, regulator, and any other adapters needed to complete the conversion. Kits are specific to stove models.
- Adjustable wrench or pliers – For removing and replacing parts on the natural gas lines.
- Phillip’s head screwdriver – For accessing the burner assemblies and orifices.
- Barbecue lighter or long match – To test the burners after conversion.
- Small brush or pipe cleaners – To clear any debris in the gas lines when switching ** fuels**.
- Soap and water solution – To check for gas leaks after the conversion.
- Manufacturer’s instructions – For your specific stove model’s conversion steps.
You may also need a drill with the appropriate drill bits for enlarging some orifices, depending on your stove model. Be sure to read the manufacturer’s instructions first before purchasing anything.
And of course, make sure you have an adequate supply of propane fuel from a tank or company before you begin.
Step-by-Step Guide to Converting a Natural Gas Stove to Propane
Once you have all of the necessary materials, you’re ready to begin the conversion process. Follow these steps closely and exercise caution when dealing with gas appliances:
Turn Off the Gas Supply
Locate the shut-off valve for the natural gas line and turn it clockwise to close it off. This is typically found behind the stove or shuts off the gas to the entire home. This prevents any gas flow while you work.
Disconnect the Natural Gas Line
At the back of the stove, locate the gas line connection leading from the valve into the appliance. Using your wrench, loosen this connection and disconnect the natural gas supply line from the stove.
Access the Burner Assemblies
The burner heads, orifices, and air shutters that need to be switched out are contained in the burner assemblies under the stovetop. Refer to your owner’s manual for specific instructions on removing the grates, burners, and accessing the internal components. This typically just involves removing some screws. Set aside all parts carefully.
Remove the Natural Gas Orifices
Each burner should have a small orifice inside that regulates the amount of gas that flows into the burner. Using a screwdriver, unscrew the natural gas orifices and set them aside. We’ll replace these with the new propane orifices sized for propane.
Install the Propane Orifices
The propane conversion kit will come with new orifices specifically sized for propane gas. Install these into the same openings where you removed the natural gas orifices. Screw them in securely. Orifices are typically labeled with their size.
Adjust the Air Shutters
There should be an air shutter adjustment on each burner assembly as well. The air shutter regulates the amount of oxygen that mixes with the fuel for proper combustion.
Because propane burns at a higher BTU, the air shutters may need to be closed slightly to allow less air. Adjust according to your manufacturer instructions. You want a nice blue flame without yellow tipping.
Attach the New Propane Gas Regulator
The regulator is responsible for controlling the high incoming pressure of propane down to safe operating levels for the appliance.
Remove the old natural gas regulator and replace it with the new propane one included with your kit. Ensure all fittings are secured.
Reconnect Gas Line to Propane Supply
With all the new propane components installed, reconnect the gas line to the propane fuel supply. This will either run directly to an external propane tank or to a home propane line.
Use a new gasket on the connection. Tighten carefully with your wrench.
Check for Gas Leaks
Before turning the propane back on, it’s critical to check for leaks. Turn on the propane supply and then spray all connections and fittings with a soapy water solution. If bubbles form, there is a gas leak.
Turn off the supply and tighten or re-seal any leaking fittings with leak-seal tape before testing again.
Reinstall Burners and Stovetop Components
Once leak testing is complete, reinstall the burner assemblies, burners, caps, grates, and any other components that were removed from the stovetop.
Turn Gas Supply Back On
With no leaks and everything put back together, slowly turn the gas supply back on.
Test the Burners
Light each burner one at a time and observe the flames for proper appearance and function. The flames should burn evenly blue without yellow tipping. Adjust air shutters as needed.
If burners fail to light or do not burn correctly, turn off the gas and double check that all steps were completed properly.
Once all tests are successful, the conversion is complete and your stove should now run on propane!
Tips for Locating and Replacing Natural Gas Orifices
One key step in the conversion process is locating and replacing the natural gas orifices. Here are some tips for this important task:
- Refer to your appliance manual so you know exactly where to locate the orifices. This can vary by model. They may be inside the burner tubes, in the valve itself, or in the external supply line.
- Use a flashlight to peer inside the assemblies for a better view. The orifices are small brass fittings.
- A needle nose pliers or orifice remover tool can help get a good grip when unscrewing old orifices.
- Apply a small amount of pipe thread sealant to new propane orifices before installing. This prevents gas leaks.
- Make sure new orifices are screwed in all the way. Don’t over-tighten.
- Check a reference chart to confirm you have the proper orifice size for each burner, based on BTUs.
Following manufacturer instructions closely and taking your time during the orifice replacement process ensures that the gas flow rate will be optimized for propane.
Adjusting Air Shutters for Proper Propane Combustion
Air shutters play an important role in the conversion process as they regulate the amount of air that mixes with fuel for clean combustion.
When switching from natural gas to propane, the air shutter openings must be decreased slightly to allow less air. Here are some tips for adjusting air shutters:
- Refer to manufacturer guidelines for the proper air shutter settings for propane. There should be specific instructions.
- Adjustments are made via a screw or lever on the burner assembly. Small turns make a big difference.
- Always adjust air shutters before adjusting flame with the valve.
- Too much air leads to a yellow, unstable flame. Too little air causes soot. Find a happy medium.
- After adjusting, visually inspect burner flames. They should be mostly blue and burn evenly.
- Do not close air venturis more than 80% during adjustments.
Remember, every stove model varies a little. Follow manufacturer instructions closely when adjusting air shutters to ensure ideal combustion rates for your propane stove.
Installing the New Propane Gas Regulator
One of the most important parts of the natural gas to propane conversion process is installing the new propane gas regulator.
This key component is responsible for controlling and reducing the high incoming pressure of propane down to safe levels that the appliance can handle – typically between 11 to 13 inches of water column pressure.
Here are some tips for properly installing the new propane regulator:
- Use the specific propane regulator made for your appliance by the manufacturer if possible. Generic ones may not adjust properly.
- Make sure flow direction arrow points towards the appliance.
- Use new gaskets/seal rings to prevent gas leaks.
- Hand-tighten connections first before using a wrench for a final snug. Don’t over-tighten.
- Two-stage regulators are recommended as they provide more steady gas pressure.
- Ensure the regulator is securely attached to a solid surface and not left dangling.
The propane regulator effectively controls the higher pressure gas source outside the unit down to the lower pressure the appliance requires internally. Taking the time to install it correctly is crucial for safe operation.
Checking for Gas Leaks
The most important safety step when converting a natural gas appliance to propane is to thoroughly check for potential gas leaks after the work is complete. Here is the proper process:
- Make sure all connections are tightened properly with no gaps before starting leak test.
- Mix a 50/50 solution of dish soap and water. This is an effective leak detector.
- With propane supply turned ON, brush soapy solution onto all connection points and fittings.
- If bubbles form, there is a gas leak. Turn off propane supply immediately.
- Re-tighten or re-seal any leaking connections with pipe sealant tape.
- Spray soapy solution over fittings again and double check for leaks.
- Also check rubber hose along its length for any bubbles, cracks, or deterioration.
- If leaks persist, turn off propane and call a professional for repair help. Do not operate appliance.
- Wipe away soapy residue thoroughly once leak testing is complete.
Following proper gas leak checking procedures ensures you can detect any conversion issues or problems before putting the appliance into use. Taking your time is crucial for safety.
Testing the Burners and Adjusting the Flame
The last step after a successful conversion is to test each burner and observe the flame quality. Here are some key points:
- Light each burner one at a time following the manufacturer’s lighting instructions.
- The flame should ignite easily and burn evenly across burner heads without fluttering or excessive noise.
- Flames should be primarily blue in color with no or very minimal yellow tipping. Yellow flames mean improper combustion.
- If the flame is too high or low, adjust regulators and valve settings accordingly.
- The flame should burn cleanly without producing smoke, soot, or strong fuel smell.
- Refer to manufacturer guidelines for proper burner flame height based on BTUs. Usually 1-1.5 inches on high.
- If needed, make fine adjustments to air shutters to optimize combustion.
- Ensure oven burner ignites easily and flame fills tube evenly.
Your final adjustments to flame quality, regulators, and air shutter openings ensure your propane stove is burning safely and efficiently. Take your time testing each setting.
Considerations for Converting Specific Stove Models
While the general conversion steps are similar across models, there can be some specific things to look out for depending on the brand and style of your natural gas stove:
- Kenmore stoves – Need to adjust pilot light hood for proper propane ignition.
- GE stoves – Require enlarging oven orifice opening with a drill bit.
- Whirlpool stoves – Use replacement regulator included with kit instead of adjusting existing one.
- Maytag stoves – Need to close oven air shutter almost completely for propane.
- Viking range – Must purchase industrial grade conversion kit designed for restaurant use.
- Wolf range – Requires air shutter adjustments and needle valve regulator replacement.
- Commercial range – Often need technician installation of commercial grade components.
Always check the manufacturer’s instructions for your specific appliance before and during the conversion process to avoid any model-specific issues. Contact customer support with any questions.
When to Call in a Professional for Conversion?
While the conversion steps outlined in this article can certainly be done safely as a DIY project by many homeowners, there are a few instances where it is advisable to have the process handled by a professional:
- If the stove is located in a rental property or commercial business where certified gas work may be required by local codes.
- For very high-end, customized commercial-grade appliances where specialized parts are needed.
- If the appliance instructions explicitly advise seeking professional installation assistance.
- If gas line modifications need to be made to home fuel supply.
- If you are unable to successfully complete leak testing after the conversion.
- If burners produce excessive yellow flames, smoke, or soot that you cannot resolve.
- If you lack the tools, patience, or confidence to safely complete the conversion on your own.
While the process may seem complex, it is very doable for most people. But when in doubt, calling a professional technician for assistance is always an advisable move for certain situations.
Propane Safety Tips
Propane is a safe and reliable fuel when handled responsibly. But improper use or neglected maintenance can lead to serious risks. Keep these safety guidelines in mind:
- Always refer to appliance and propane manufacturer safety instructions.
- Perform regular leak inspections on fittings, hoses, piping. Fix any issues immediately.
- Keep propane tanks outdoors and spaced from other structures.
- Never route propane lines through indoor spaces.
- Ensure adequate ventilation for all propane appliances.
- Know the signs of propane leaks like rotten egg smell.
- Consider installing CO alarms and propane gas detectors for warning.
- Keep the stove area free of clutter and combustible materials.
- Turn off propane supply at the tank after each use.
- Only trained professionals should refill propane tanks.
- Avoid bending/kinking propane hoses. Replace damaged hoses.
Exercising caution and following safety procedures is crucial when using propane fuel to prevent accidents or fire.
The Benefits of Converting Your Stove to Propane
Switching your stove’s fuel source from natural gas to propane provides some excellent benefits:
- Potential energy cost savings – Propane can be 30-50% cheaper than electricity or natural gas.
- Increased efficiency – More of propane’s energy converts directly to heat relative to natural gas.
- No need for gas line installation – Propane can be used anywhere there is a tank, requiring no permanent gas plumbing.
- Portability – Propane tanks allow stoves to be used for camping, food trucks, temporary kitchens.
- Reliability – Propane provides consistent pressure and energy density in any weather conditions.
- Resale value – Homes set up for propane can increase property value for off-grid capability.
- Independence – Propane allows energy needs to be met without relying on connection to the grid.
- Environmental perks – Propane emits less CO2 and other particulates than fuels like wood or coal.
- Preexisting infrastructure – Many rural homes already have large propane tanks for backup power.
- Simpler maintenance – No need to service pipes, valves, and fittings required for piped gas.
- Rapid installation – Propane hookup and appliance conversion is faster than establishing natural gas.
- Weather readiness – Propane tanks aren’t affected by storms that can disrupt natural gas service.
- Appliance flexibility – Propane can fuel stoves, lights, generators, and heating units.
Converting to propane provides excellent fuel reliability, cost savings, efficiency, and convenience – especially for rural households. It allows cooking needs to be met regardless of changes to the home. Propane simply offers more energy independence and security.
Frequently Asked Questions about Converting to Propane
How difficult is it to convert an appliance to propane?
The conversion process is very doable for most DIYers with some handy skills and the ability to follow instructions closely. It just takes time and patience. Calling a technician is advisable if you lack experience.
Does converting a stove to propane require new parts?
Yes, you will need a full conversion kit with propane-specific orifices, regulators, and fittings sized appropriately for propane. Other adjustments may be needed as well.
Can I use my existing natural gas appliances on a propane system?
You cannot use natural gas appliances on a propane fuel source unless they are fully converted with the right components for propane.
Will my stove function the same after converting to propane?
Converted stoves operate very similarly. Flame size, temperature, and cooking times will be comparable after the conversion is properly calibrated.
Is it less expensive to run a propane stove compared to natural gas?
In most cases, propane is 30-50% less expensive than natural gas for home cooking needs. But energy prices can vary by location.
Should I get my propane tank leased from a supplier or purchase my own?
Leasing tanks from your propane company often costs less overall than purchasing your own, unless you plan to live in the home for over 15 years.
How often should I get my propane stove serviced after conversion?
An annual service check of all fittings, orifices, air shutters, and tubing is recommended to ensure optimal and safe functioning.
Converting Your Stove to Propane – A Great Decision
Converting from natural gas to propane fuel for your stove provides so many helpful benefits for your home and family. With the detailed steps covered in this guide, you can successfully carry out the conversion project yourself as a DIY effort.
The key steps involve acquiring the right kit supplies, replacing key components like orifices and regulators, properly adjusting air shutters, checking for leaks, and testing burner performance. While the process takes time and diligence, the energy cost savings and convenience of propane are well worth it.
Be sure to follow all safety precautions when handling gas appliances, and don’t hesitate to call in a professional if any issues are beyond your comfort level. With some care and patience, you will join the many homeowners enjoying reliable cooking with propane. So take control of your energy needs and consider converting today!


