How to Defrost Samsung Ice Maker: A Complete Guide
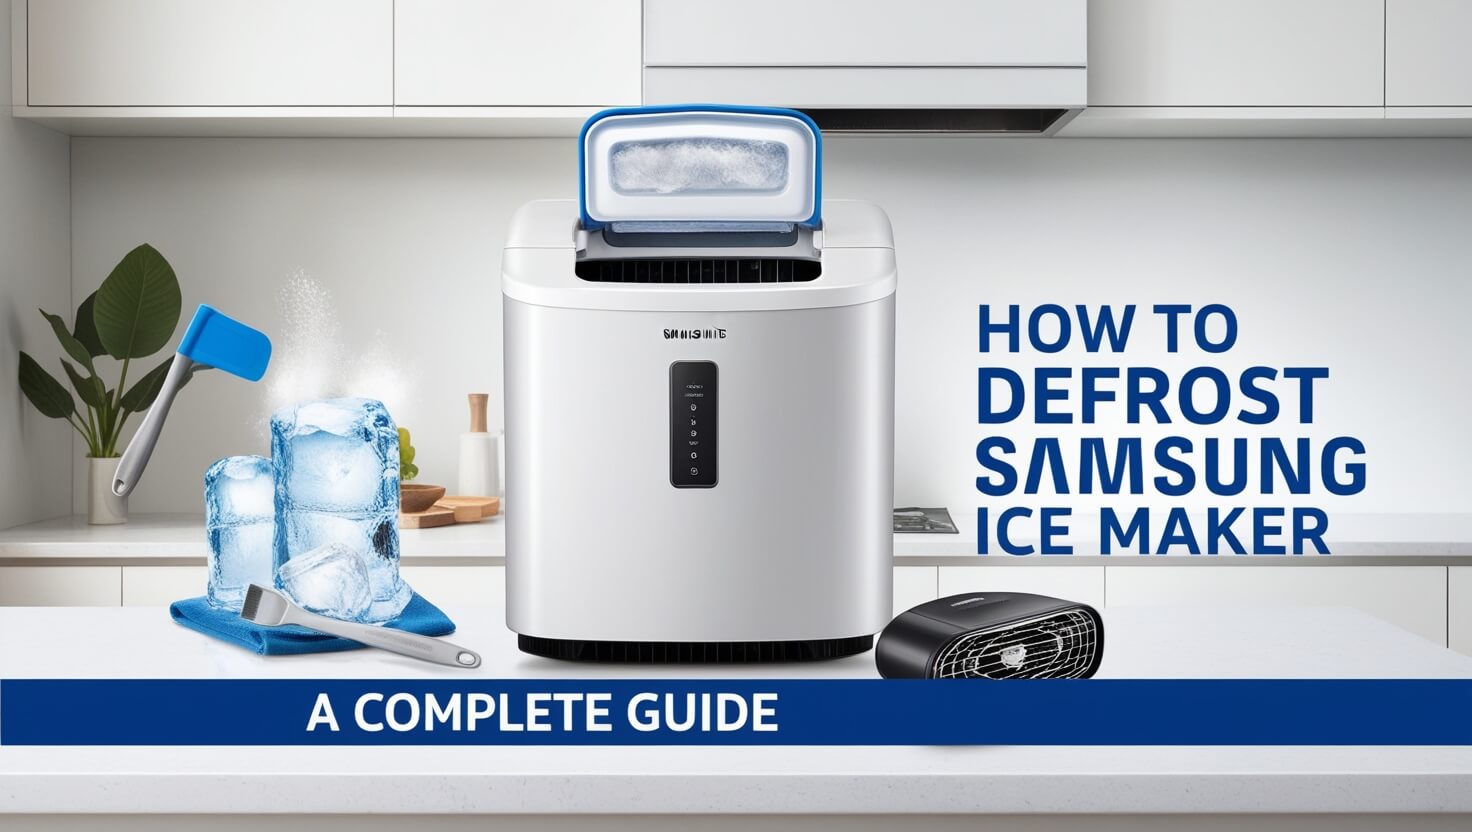
Is your Samsung refrigerator’s ice maker acting up? You’re not alone. Many Samsung ice maker owners face the frustrating issue of ice buildup, which can stop ice production in its tracks. The good news? Defrosting your Samsung ice maker is often a simple fix you can do at home. This guide will walk you through everything you need to know about defrosting your Samsung ice maker, from recognizing the signs of a frozen unit to preventing future issues.
Why Your Samsung Ice Maker Needs Defrosting
Before we dive into the defrosting process, let’s understand why your ice maker might need this attention in the first place.
Signs Your Ice Maker is Frozen
How do you know if your Samsung ice maker needs defrosting? Here are some telltale signs:
- No ice production
- Small or misshapen ice cubes
- Ice bucket stuck or difficult to remove
- Visible frost or ice buildup inside the ice maker
- Strange noises coming from the ice maker
If you notice any of these signs, it’s time to consider defrosting your ice maker.
Common Causes of Ice Buildup
Several factors can contribute to ice buildup in your Samsung ice maker:
- Frequent door opening: This lets warm, humid air into the freezer.
- Overpacking the freezer: Poor air circulation can lead to frost buildup.
- Faulty door seals: These can let warm air seep in.
- Incorrect temperature settings: If it’s too cold, excess frost can form.
- Clogged water lines: This can disrupt the ice-making process.
Understanding these causes can help you prevent future issues.
Preparing to Defrost Your Samsung Ice Maker
Before you start the defrosting process, it’s important to prepare properly. This ensures your safety and the effectiveness of the defrosting process.
Safety Precautions
Safety should always come first when working with appliances. Here are some crucial safety tips:
- Unplug the refrigerator if you’re manually defrosting.
- Wear gloves to protect your hands from cold and sharp ice.
- Use plastic tools to avoid damaging the ice maker.
- Never use sharp objects or electrical appliances to remove ice.
- Keep the floor dry to prevent slips.
Tools You’ll Need
Gathering the right tools beforehand will make the process smoother. Here’s what you might need:
- Towels or absorbent cloths
- Plastic scraper or spatula
- Bucket for ice removal
- Warm water (if manually defrosting)
- Hair dryer (optional, for stubborn ice)
With these preparations complete, you’re ready to start defrosting your Samsung ice maker.
Method 1: Resetting the Ice Maker
Often, a simple reset can solve ice maker issues. This should be your first attempt at fixing the problem.
Step-by-Step Reset Process
Follow these steps to reset your Samsung ice maker:
- Locate the ice bucket and remove it from the freezer.
- Find the test/reset button. It’s usually on the side or bottom of the ice maker.
- Press and hold the button for about 5 seconds until you hear a chime.
- Replace the ice bucket.
- Wait for the ice maker to start a new cycle.
This process triggers a defrost cycle in the ice maker, which can often clear minor ice buildups.
When to Use This Method
The reset method is ideal for:
- Minor ice production issues
- When you notice slightly smaller ice cubes
- As a regular maintenance step (every 3-6 months)
- After power outages or refrigerator maintenance
If the reset doesn’t solve your problem, move on to the next method.
Method 2: Forced Defrost Cycle
When a simple reset doesn’t do the trick, a forced defrost cycle might be necessary. This method uses your Samsung refrigerator’s built-in defrost function.
Accessing the Forced Defrost Mode
The process to enter forced defrost mode can vary slightly between models, but generally follows these steps:
- Locate the control panel on your refrigerator.
- Press and hold specific button combinations:
- For models with a tabletop display: Hold “Power Freeze” and “Fridge” for 8 seconds.
- For models with a dispenser: Hold “Freezer” and “Lighting” for 8 seconds.
- The display should go blank, followed by a beep.
- Press any button (usually “Lighting”) until “Fd” appears on the display.
Running the Defrost Cycle
Once you’ve accessed the forced defrost mode:
- Select “Fd” to start the forced defrost cycle.
- Remove the ice bucket and place towels in the ice maker compartment.
- Close the freezer door and let the cycle run.
- The cycle typically lasts 20-30 minutes but can take up to an hour.
- You may hear beeping throughout the cycle – this is normal.
What to Expect During the Process
During the forced defrost cycle:
- The refrigerator will make various noises as it goes through the defrost process.
- You may see water dripping as ice melts.
- The freezer temperature will temporarily increase.
- Once complete, the refrigerator will return to normal operation.
After the cycle ends, check the ice maker. If ice buildup remains, you may need to run another cycle or move on to manual defrosting.
Method 3: Manual Defrosting
If the forced defrost cycle doesn’t fully clear the ice, manual defrosting might be necessary. This method requires more effort but can be effective for stubborn ice buildups.
Removing Ice Buildup Safely
To manually defrost your Samsung ice maker:
- Unplug the refrigerator or turn off the power at the circuit breaker.
- Remove all food items from the freezer.
- Take out the ice bucket and any removable parts of the ice maker.
- Place towels on the floor and in the freezer to catch water.
- Leave the freezer door open to allow warm air to circulate.
- Wait for the ice to start melting. This can take several hours.
- Use a plastic scraper to gently remove loose ice. Never use metal tools or force.
- For stubborn ice, you can use a hair dryer on low heat. Keep it moving and at least 6 inches away from surfaces.
Cleaning the Ice Maker Components
Once the ice is removed:
- Wipe down all surfaces with a clean, damp cloth.
- Pay special attention to the ice mold and water inlet.
- Dry all components thoroughly with a clean towel.
- Check for any signs of damage or wear.
- Reassemble the ice maker and replace the ice bucket.
- Plug the refrigerator back in or turn the power on.
Allow the freezer to cool down before restarting the ice maker.
Troubleshooting After Defrosting
After defrosting your Samsung ice maker, you might encounter some issues. Here’s how to address them.
Common Issues and Solutions
- Ice maker not restarting:
- Wait 24 hours for the freezer to reach the proper temperature.
- Check that the ice maker is turned on.
- Ensure the water supply is connected and on.
- Poor ice quality:
- Run a few cycles and discard the first few batches of ice.
- Check your water filter and replace if necessary.
- Slow ice production:
- Ensure the freezer temperature is set between 0°F and 5°F (-18°C to -15°C).
- Avoid overpacking the freezer, which can restrict airflow.
- Unusual noises:
- Some noise is normal during ice production and harvesting.
- If noises are excessive, check for loose components or ice buildup.
When to Call a Professional
While many ice maker issues can be resolved at home, some situations require professional help:
- Repeated freezing despite regular defrosting
- Visible damage to the ice maker components
- Water leaks that persist after defrosting
- Electrical issues or burning smells
- If your warranty is still valid, contact Samsung support before attempting extensive repairs
Don’t hesitate to seek professional help if you’re unsure about any step in the process.
Preventing Future Ice Buildup
Preventing ice buildup is easier than dealing with a frozen ice maker. Here are some tips to keep your Samsung ice maker running smoothly.
Regular Maintenance Tips
- Clean the ice maker monthly:
- Remove the ice bucket and wipe it with a mild soap solution.
- Clean the ice chute and dispenser with a soft cloth.
- Check for ice buildup weekly:
- Look for any frost or ice accumulation.
- If you spot any, run a quick defrost cycle.
- Use the ice maker regularly:
- Regular use helps prevent ice from clumping.
- If you’re away, turn off the ice maker and empty the bucket.
- Replace the water filter every 6 months:
- This ensures clean water and ice production.
- Use Samsung-approved filters for best results.
- Keep the door seals clean:
- Wipe them monthly with a mild soap solution.
- Check for any damage and replace if necessary.
Optimal Temperature Settings
Proper temperature settings are crucial for preventing ice buildup:
- Set the freezer temperature between 0°F and 5°F (-18°C to -15°C).
- Avoid setting the temperature too low, as this can cause frost buildup.
- Use a separate thermometer to verify the freezer temperature.
- Adjust settings gradually and allow 24 hours for the temperature to stabilize.
By following these maintenance tips and keeping an eye on the temperature, you can significantly reduce the chances of ice buildup in your Samsung ice maker.
Samsung Ice Maker Models and Specific Instructions
Different Samsung refrigerator models may have slightly different ice maker designs and defrosting procedures. Let’s look at some common types and their specific considerations.
Side-by-Side Refrigerator Models
Side-by-side models typically have the ice maker located in the freezer section:
- The ice bucket is usually at eye level for easy access.
- These models often have a separate ice and water dispenser on the door.
- To access the ice maker, you may need to remove a shelf or drawer.
- Some models have a “Ice Off” button on the control panel to stop ice production.
Specific steps for side-by-side models:
- Remove the ice bucket by lifting and pulling it out.
- Look for the reset button on the side or bottom of the ice maker unit.
- If manually defrosting, be careful of items stored on nearby shelves.
French Door Refrigerator Models
French door refrigerators usually have the ice maker in the refrigerator section:
- The ice maker is often located in the left door or upper left corner of the fridge.
- Some models have dual ice makers – one in the fridge and one in the freezer.
- These ice makers may be more prone to freezing due to their location.
Specific steps for French door models:
- To access the ice maker, you may need to remove the ice bucket and a cover panel.
- Look for the test/reset button inside the ice maker compartment.
- When defrosting, pay extra attention to the water line that runs to the door.
Top Freezer Models
Top freezer models typically have a simpler ice maker design:
- The ice maker is usually mounted on the side wall of the freezer compartment.
- These models often don’t have a through-the-door dispenser.
- The ice bucket is usually a simple plastic tray that sits below the ice maker.
Specific steps for top freezer models:
- Remove any items stored near the ice maker for easy access.
- The reset button is often more visible and accessible in these models.
- When defrosting manually, be careful of water dripping onto items below.
Remember, always consult your specific model’s user manual for the most accurate instructions.
Understanding Your Samsung Ice Maker
To better maintain and troubleshoot your ice maker, it’s helpful to understand how it works and its key components.
How It Works
Samsung ice makers follow a basic process:
- Water fills the ice mold through an inlet valve.
- The mold cools, freezing the water into cubes.
- A heating element briefly activates to release the cubes.
- An ejector arm pushes the cubes into the ice bucket.
- A sensor detects when the bucket is full and stops production.
This cycle repeats until the ice bucket is full or the ice maker is turned off.
Key Components
Knowing the main parts of your ice maker can help you identify issues:
- Water inlet valve: Controls water flow into the ice maker.
- Ice mold: Where water freezes into cubes.
- Thermostat: Monitors temperature to control the freezing cycle.
- Heating element: Briefly warms the mold to release ice cubes.
- Ejector arm: Pushes finished ice cubes into the bucket.
- Ice bucket: Stores the produced ice.
- Fill sensor: Detects when the bucket is full.
- Control board: Manages the entire ice-making process.
Understanding these components can help you pinpoint problems and communicate effectively with technicians if professional help is needed.
FAQs About Defrosting Samsung Ice Makers
Let’s address some common questions about defrosting Samsung ice makers.
Frequency of Defrosting
Q: How often should I defrost my Samsung ice maker? A: For optimal performance, consider defrosting your ice maker every 3-6 months. However, if you notice signs of freezing or reduced ice production, you may need to defrost more frequently.
Q: Can I prevent the need for defrosting? A: While regular maintenance can reduce the frequency, some level of frost buildup is normal over time. Following the prevention tips mentioned earlier can help minimize the need for defrosting.
Time Required for Defrosting
Q: How long does it take to defrost a Samsung ice maker? A: The time can vary depending on the method used:
- Reset method: Almost immediate, but may take up to 24 hours to see results.
- Forced defrost cycle: Typically 20-30 minutes, but can take up to an hour.
- Manual defrosting: Can take several hours, depending on the amount of ice buildup.
Q: Can I speed up the defrosting process? A: While it’s tempting to use heat to speed up defrosting, it’s crucial to avoid direct heat sources that could damage the ice maker. Stick to the recommended methods for safe and effective defrosting.
Impact on Food in the Freezer
Q: Will defrosting the ice maker affect other food in my freezer? A: The impact depends on the method used:
- Reset and forced defrost methods: Minimal impact, but you may notice a slight temperature increase.
- Manual defrosting: Can cause temporary warming. It’s best to remove perishable items during this process.
Q: Should I remove all food from the freezer when defrosting the ice maker? A: For reset and forced defrost methods, it’s not necessary. For manual defrosting, it’s advisable to remove food to prevent thawing and potential spoilage.
Tips for Efficient Ice Making
Beyond defrosting, there are several ways to ensure your Samsung ice maker produces ice efficiently and consistently.
Proper Usage Habits
- Don’t overfill the ice bucket:
- Overfilling can cause ice to melt and refreeze, leading to clumps.
- Remove excess ice if the bucket gets too full.
- Use ice regularly:
- Regular use helps prevent ice from sticking together.
- If you don’t use much ice, consider turning off the ice maker when the bucket is full.
- Keep the freezer door closed:
- Minimize the time the freezer door is open to maintain a consistent temperature.
- This helps prevent warm air from entering and causing frost buildup.
- Avoid storing items near the ice maker:
- Keep the area around the ice maker clear for proper air circulation.
- This can help prevent ice from absorbing odors from other foods.
- Level your refrigerator:
- An unlevel fridge can affect ice production and water flow.
- Use a level to check and adjust the refrigerator’s feet if necessary.
Water Quality and Its Impact
The quality of your water can significantly affect your ice maker’s performance and the taste of your ice:
- Use filtered water:
- If your refrigerator has a water filter, make sure it’s changed regularly.
- Consider using a whole-house water filter for overall better water quality.
- Check your water hardness:
- Hard water can leave mineral deposits in your ice maker.
- If you have hard water, consider using a water softener.
- Flush the water line:
- If you haven’t used your ice maker in a while, flush the water line before use.
- Run a few cycles and discard the ice to ensure fresh, clean-tasting ice.
Maintenance and Cleaning Regular maintenance and cleaning are crucial for optimal ice maker performance:
- Clean the ice bin:
- Empty and clean the ice bin at least once a month.
- Use a mild soap solution and rinse thoroughly.
- Sanitize the system:
- Follow the manufacturer’s instructions for sanitizing the ice maker.
- This typically involves running a cleaning solution through the system.
- Check and clean the condenser coils:
- Dust and debris on condenser coils can reduce efficiency.
- Clean the coils at least twice a year using a vacuum or brush.
Troubleshooting Common Issues If you encounter problems with your ice maker, try these troubleshooting steps:
- Ice production is slow or stopped:
- Check the freezer temperature (should be around 0°F or -18°C).
- Ensure the water supply is connected and turned on.
- Look for any ice jams in the ejector arm.
- Ice tastes or smells bad:
- Replace the water filter if applicable.
- Clean and sanitize the ice maker and bin.
- Check for old food items in your freezer that might be affecting taste.
- Ice is too small or malformed:
- Check water pressure – low pressure can result in small or incomplete cubes.
- Ensure the water line isn’t kinked or restricted.
Energy Efficiency Tips Maximize your ice maker’s efficiency with these tips:
- Keep the freezer full:
- A full freezer retains cold better, reducing the workload on your ice maker.
- Avoid frequent door openings:
- This helps maintain a consistent temperature in your freezer.
- Consider using ice trays during low-demand periods:
- Turn off the ice maker when you don’t need large quantities of ice.
Let’s Finish
A well-maintained ice maker can provide you with a steady supply of fresh, clean ice for years to come. By paying attention to water quality, performing regular maintenance, and addressing issues promptly, you can ensure optimal performance and enjoy high-quality ice whenever you need it. Remember that different models may have specific care instructions, so always consult your appliance’s manual for the best advice tailored to your ice maker. With these tips and a little attention, you’ll be well on your way to becoming an ice maker expert and enjoying perfectly chilled beverages year-round.

