How to Clean Your Countertop Ice Maker?
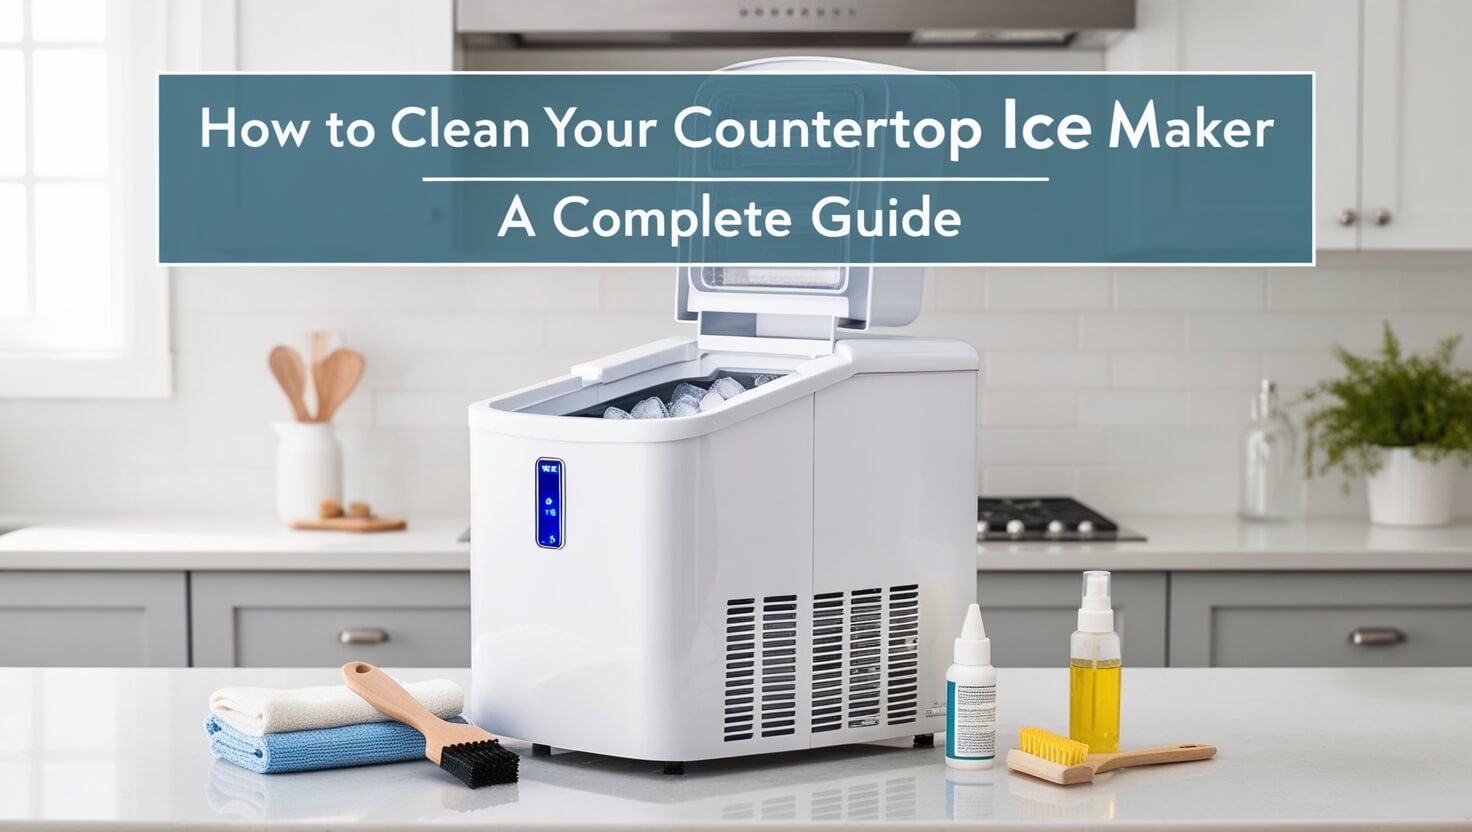
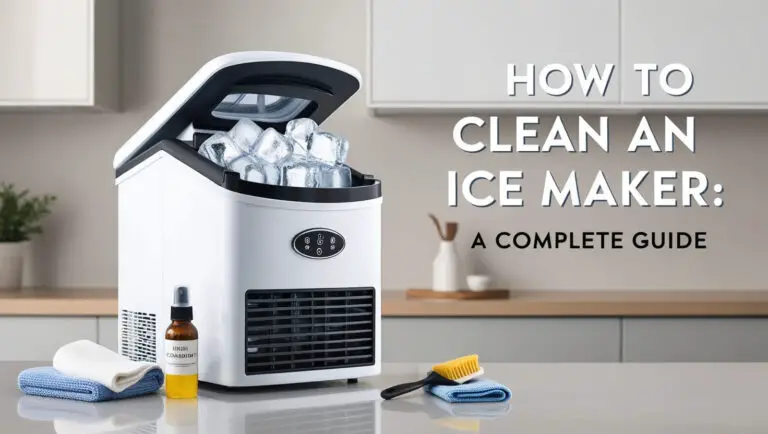
Keeping your countertop ice maker clean is crucial for producing fresh, hygienic ice. Regular cleaning not only ensures the best-tasting ice but also extends the life of your appliance. This comprehensive guide will walk you through the entire process of cleaning your countertop ice maker, from daily maintenance to deep cleaning. We’ll cover everything you need to know to keep your ice maker in top condition.
Why Regular Cleaning of Your Countertop Ice Maker is Crucial
Before we dive into the cleaning process, let’s understand why it’s so important to keep your ice maker clean.
Health and Hygiene Benefits
A clean ice maker is essential for your health. Over time, mold, bacteria, and other microorganisms can build up in your ice maker. These can contaminate your ice, potentially leading to foodborne illnesses. Regular cleaning eliminates these harmful microbes, ensuring that your ice is safe to consume.
Improved Ice Quality and Taste
Have you ever noticed that your ice tastes funny? That’s often a sign that your ice maker needs cleaning. Mineral deposits, food particles, and other contaminants can affect the taste and clarity of your ice. A clean ice maker produces crystal-clear, great-tasting ice that enhances your beverages rather than detracting from them.
Extended Appliance Lifespan
Like any appliance, your countertop ice maker will last longer if it’s well-maintained. Regular cleaning prevents the buildup of mineral deposits and scale, which can damage the internal components of your ice maker. By keeping it clean, you’re protecting your investment and ensuring that your ice maker continues to function efficiently for years to come.
How Often Should You Clean Your Countertop Ice Maker?
The frequency of cleaning your ice maker depends on several factors. Let’s break it down.
Factors Affecting Cleaning Frequency
- Usage: The more you use your ice maker, the more often it needs cleaning.
- Water quality: Hard water leads to faster mineral buildup, requiring more frequent cleaning.
- Environment: Dusty or humid environments may necessitate more regular cleaning.
- Storage: If your ice maker is stored for long periods, it should be cleaned before and after storage.
Recommended Cleaning Schedule
For most households, following this cleaning schedule will keep your ice maker in top condition:
- Daily: Empty and dry the ice bin to prevent moisture buildup.
- Weekly: Wipe down the exterior and clean the ice scoop.
- Monthly: Perform a quick clean of the interior components.
- Every 3-6 months: Deep clean the entire ice maker.
Remember, these are general guidelines. If you notice any signs of mold, unusual odors, or changes in ice quality, clean your ice maker immediately.
Essential Supplies for Cleaning Your Countertop Ice Maker
Before you start cleaning, gather all the necessary supplies. Having everything on hand will make the process smoother and more efficient.
Cleaning Solutions: Commercial vs. Homemade
You have two main options for cleaning solutions:
- Commercial ice maker cleaners: These are specifically formulated for ice makers and are generally safe and effective. Always follow the manufacturer’s instructions.
- Homemade solutions: A mixture of water and white vinegar (1:1 ratio) is a popular, natural cleaning solution. For sanitizing, you can use a solution of 1 tablespoon of bleach per gallon of water.
Tools and Materials You’ll Need
- Soft cloths or microfiber towels
- Soft-bristled brush or old toothbrush
- Sponge
- Rubber gloves
- Bucket
- Clean water for rinsing
- Ice scoop
- User manual for your specific ice maker model
Having these supplies ready will make the cleaning process much more manageable.
Step-by-Step Guide to Cleaning Your Countertop Ice Maker
Now, let’s dive into the actual cleaning process. We’ll cover everything from basic maintenance to deep cleaning.
Preparing Your Ice Maker for Cleaning
- Unplug the ice maker: Safety first! Always disconnect the power before cleaning.
- Remove all ice: Discard any ice in the bin or freeze it in a separate container.
- Allow the unit to warm up: This helps melt any ice stuck to the evaporator plates.
- Remove removable parts: Take out the ice bin, scoop, and any other removable components.
Cleaning the Exterior
- Mix warm water with a mild dish soap.
- Dip a soft cloth in the solution and wring out excess water.
- Wipe down the entire exterior, paying extra attention to handles and control panels.
- For stubborn spots, use a mixture of baking soda and water to gently scrub.
- Dry thoroughly with a clean, lint-free cloth to prevent water spots.
Deep Cleaning the Interior Components
- Make a cleaning solution: Use either a commercial ice maker cleaner or a 1:1 mixture of water and white vinegar.
- Clean the ice bin: Wash it thoroughly with the cleaning solution, scrubbing any stains or mineral deposits.
- Clean the evaporator plates: Gently wipe them with the cleaning solution using a soft cloth or sponge.
- Clean the water reservoir: If accessible, wipe it down with the cleaning solution.
- Clean the ice scoop: Wash it with dish soap and hot water, or run it through the dishwasher if it’s dishwasher-safe.
Sanitizing Your Ice Maker
After cleaning, it’s important to sanitize your ice maker to eliminate any remaining bacteria.
- Make a sanitizing solution: Mix 1 tablespoon of bleach with 1 gallon of water.
- Wipe down all interior surfaces with this solution.
- Let the solution sit for 3-5 minutes.
- Rinse thoroughly with clean water.
- Dry all surfaces completely with a clean towel.
Reassembling and Testing Your Ice Maker
- Put all removable parts back in place.
- Plug the ice maker back in.
- Run 2-3 cycles of ice production, discarding the ice each time.
- Taste test the ice from the third or fourth batch to ensure there’s no lingering taste of cleaner.
Tackling Common Cleaning Challenges
Even with regular cleaning, you may encounter some specific issues. Here’s how to handle them.
Removing Mineral Deposits and Scale Buildup
Mineral deposits, often called scale, can accumulate over time, especially if you have hard water. To remove them:
- Make a stronger vinegar solution: Use undiluted white vinegar.
- Apply the solution to affected areas and let it sit for 10-15 minutes.
- Scrub gently with a soft-bristled brush.
- Rinse thoroughly and dry.
For stubborn buildup, you may need to repeat this process or use a commercial descaling solution.
Dealing with Mold and Mildew
If you spot mold or mildew in your ice maker:
- Make a solution of 1 tablespoon bleach per gallon of water.
- Apply this solution to the moldy areas.
- Let it sit for 10 minutes.
- Scrub gently with a soft brush.
- Rinse thoroughly and dry completely.
- Run several cycles, discarding the ice, before using.
Eliminating Odors from Your Ice Maker
Unpleasant odors can transfer to your ice. To eliminate them:
- Clean the ice maker thoroughly as described above.
- Make a solution of 2 tablespoons baking soda dissolved in 1 quart of warm water.
- Wipe down all interior surfaces with this solution.
- Rinse well and dry.
- Leave the ice maker door open for a few hours to air out.
Maintaining Your Countertop Ice Maker Between Deep Cleans
Regular maintenance can reduce the frequency of deep cleaning and keep your ice maker in top condition.
Daily and Weekly Maintenance Tips
Daily:
- Empty and dry the ice bin to prevent moisture buildup.
- Wipe down the exterior with a damp cloth.
Weekly:
- Clean the ice scoop with soap and hot water.
- Check and clean the air filter if your model has one.
- Inspect for any signs of mold or mineral buildup.
Water Quality and Its Impact on Ice Maker Cleanliness
The quality of water you use significantly affects how often you need to clean your ice maker. Hard water contains more minerals, leading to faster scale buildup. Consider these tips:
- Use filtered or bottled water if your tap water is hard.
- Install a water softener for your home’s water supply.
- Regularly test your water quality to stay informed about potential issues.
Troubleshooting Ice Maker Issues After Cleaning
Sometimes, you might encounter issues after cleaning your ice maker. Here’s how to handle common problems.
Common Problems and Their Solutions
- Ice maker won’t start:
- Ensure it’s plugged in properly.
- Check if the water line is connected and turned on.
- Verify that the ice bin is in the correct position.
- Ice has an odd taste or smell:
- Run additional cleaning cycles.
- Check your water source for contamination.
- Ensure all cleaning solution has been thoroughly rinsed away.
- Ice is cloudy or small:
- This often indicates mineral buildup. Perform another descaling.
- Check your water filter and replace if necessary.
- Water leakage:
- Ensure all components are properly reassembled.
- Check for any cracks in the water lines or reservoir.
When to Seek Professional Help
If you’ve tried troubleshooting and still have issues, it might be time to call a professional. Consider professional service if:
- You notice unusual noises or vibrations.
- The ice maker consistently underperforms despite cleaning.
- There are signs of electrical issues or burning smells.
- You’re uncomfortable performing any maintenance tasks yourself.
Eco-Friendly Cleaning Methods for Your Countertop Ice Maker
For those looking to reduce their environmental impact, there are several eco-friendly cleaning options.
Natural Cleaning Alternatives
- Vinegar and water solution: As mentioned earlier, this is an effective, natural cleaner.
- Lemon juice: Similar to vinegar, lemon juice can help remove mineral deposits.
- Baking soda: Great for scrubbing away stains and neutralizing odors.
Reducing Environmental Impact While Cleaning
- Use reusable cloths instead of paper towels.
- Opt for biodegradable, phosphate-free cleaning products.
- Conserve water by collecting rinse water to use for plants or cleaning outdoor areas.
Understanding Different Types of Countertop Ice Makers and Their Cleaning Needs
Not all ice makers are created equal. Different types may have specific cleaning requirements.
Portable vs. Built-in Models
Portable ice makers:
- Often have simpler designs, making them easier to clean.
- May need more frequent cleaning due to their compact nature.
Built-in ice makers:
- Might have more complex components requiring careful cleaning.
- Often have better filtration systems, potentially reducing cleaning frequency.
Cleaning Considerations for Various Ice Types (Cubes, Nuggets, Flakes)
- Cube ice makers: Pay special attention to the ice mold or tray.
- Nugget ice makers: These may require more frequent cleaning due to the softer ice consistency.
- Flake ice makers: The auger or blade system needs careful cleaning to prevent buildup.
Always refer to your specific model’s user manual for detailed cleaning instructions.
The Role of Water Filtration in Maintaining a Clean Ice Maker
Proper water filtration can significantly reduce the frequency and intensity of cleaning needed for your ice maker.
Types of Water Filters for Ice Makers
- Inline filters: Installed directly on the water line feeding the ice maker.
- Built-in filters: Some models have filters integrated into the ice maker itself.
- Whole-house filtration systems: These filter water for your entire home, including your ice maker.
Benefits of Using Filtered Water
- Reduces mineral buildup and scale formation.
- Improves the taste and clarity of ice.
- Extends the lifespan of your ice maker by reducing wear on components.
- Decreases the frequency of deep cleaning required.
Safety Precautions When Cleaning Your Countertop Ice Maker
Safety should always be your top priority when cleaning any appliance.
Electrical Safety Tips
- Always unplug the ice maker before cleaning.
- Never submerge electrical components in water.
- Ensure your hands are dry when plugging or unplugging the unit.
- If you notice any frayed wires or electrical issues, stop and call a professional.
Handling Cleaning Chemicals Safely
- Wear rubber gloves to protect your skin.
- Work in a well-ventilated area, especially when using bleach or strong cleaners.
- Never mix cleaning chemicals, especially bleach and ammonia.
- Store cleaning products out of reach of children and pets.
- Always read and follow the instructions on cleaning product labels.
Comparing DIY Cleaning vs. Professional Cleaning Services
While regular maintenance can be done at home, there may be times when professional cleaning is beneficial.
Pros and Cons of Each Approach
DIY Cleaning: Pros:
- Cost-effective
- Can be done on your schedule
- Helps you understand your appliance better
Cons:
- Time-consuming
- Risk of improper cleaning if not done correctly
- May not address all issues in complex models
Professional Cleaning: Pros:
- Thorough and efficient
- Can identify and address potential issues
- Uses specialized tools and products
Cons:
- More expensive
- Requires scheduling and waiting for service
- May be unnecessary for simple, well-maintained units
When to Consider Professional Cleaning
Consider professional cleaning if:
- You’re not comfortable performing deep cleans yourself.
- Your ice maker has persistent issues despite regular cleaning.
- You notice a significant decrease in performance or ice quality.
- It’s been several years since the last professional service.
- You’re preparing to use the ice maker after long-term storage.
Let’s Complete
Keeping your countertop ice maker clean is essential for producing high-quality, safe ice and maintaining the longevity of your appliance. By following this comprehensive guide, you can ensure that your ice maker remains in top condition, providing you with clean, fresh ice whenever you need it.
Remember, the key to a well-functioning ice maker is consistent maintenance. Make cleaning your ice maker a regular part of your household routine. Whether you’re doing quick daily wipe-downs or thorough deep cleans, every effort contributes to better ice quality and a longer-lasting appliance.
Don’t forget to consult your ice maker’s user manual for any model-specific instructions or warnings. And if you ever feel unsure about a cleaning process or encounter persistent issues, don’t hesitate to seek professional help.
With proper care and regular cleaning, your countertop ice maker will continue to be a reliable source of ice for all your cooling needs. Here’s to many years of perfectly chilled beverages and fresh, clean ice!

