How to Easily Set the Clock on Your GE Stove?
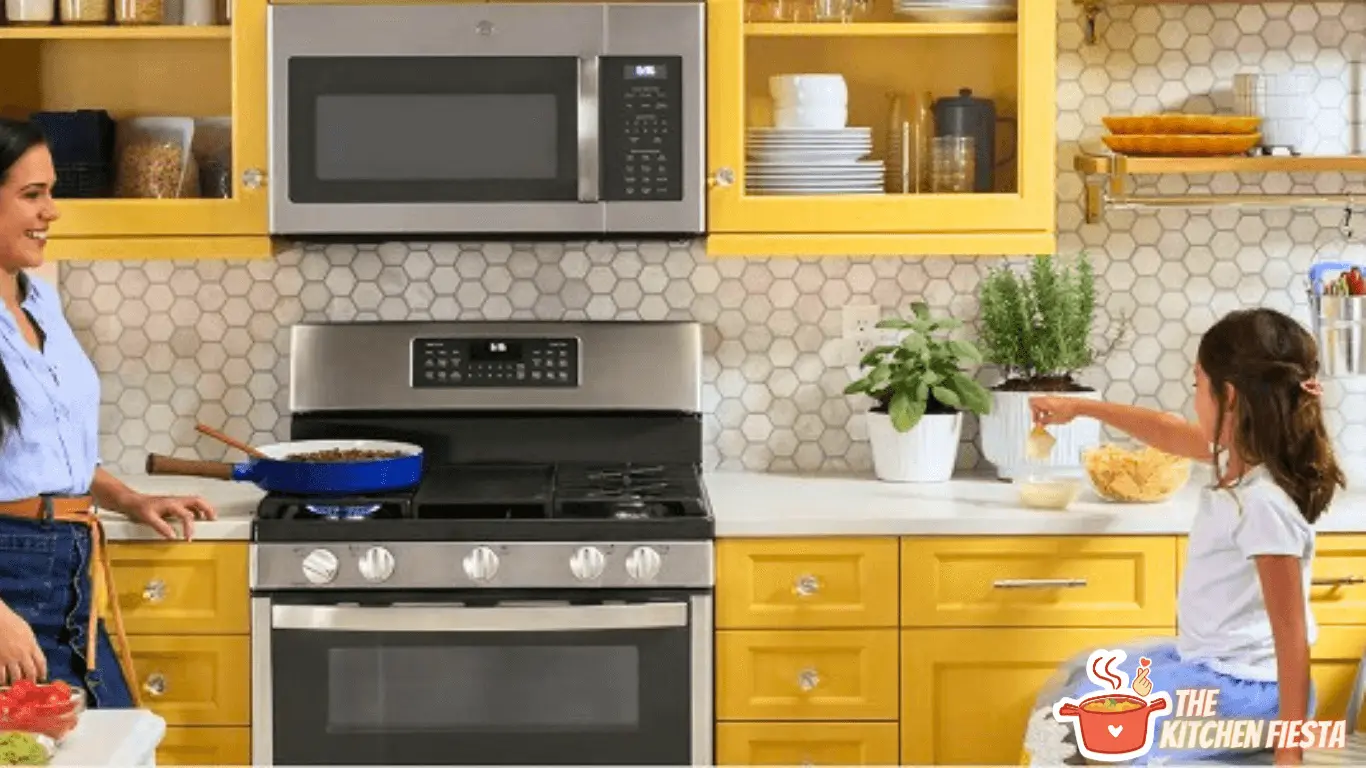
Setting the clock on a GE stove may seem simple, but it can be frustrating if you need to become more familiar with the process. In this article, we’ll provide you with a step-by-step guide to setting the clock on your GE stove and some troubleshooting tips for common issues.
Understanding your GE stove is the first step to setting the clock. Some models have a separate “set clock” button, while others require you to use the minute timer knob to set the clock. Identifying the clock button can be challenging, but setting the clock is a breeze once you know where it is.
In the following sections, we’ll walk you through setting the clock on your GE stove, from identifying the clock button to confirming the time. We’ll also provide some troubleshooting tips for common issues and tips for maintaining your stove’s clock. So, let’s get started!
Key Takeaways
- Understanding your GE stove is essential before setting the clock.
- Identifying the clock button can be a challenge, but it is necessary.
- Troubleshooting common issues and maintaining your stove’s clock can save you time and frustration.
Understanding Your GE Stove
When using your GE stove, it’s essential to understand the different parts and features that make up the appliance. Here are some key things to keep in mind:
Control Panel
The control panel is where you can control all the functions of your GE stove. The control panel may have different buttons and features depending on the model. Some common features include:
- Clock: This displays the time and allows you to set the clock.
- Timer: This is used to set a timer for cooking or baking.
- Bake: This is used to set the oven to bake mode.
- Broil: This is used to set the oven to broil mode.
- Self-Clean: This is used to set the oven to self-clean mode.
Oven
The oven is where you cook and bake your food. Depending on the model, your GE stove may have different oven features, such as:
- Convection: This feature uses a fan to circulate hot air around the oven, which can help cook food more evenly and quickly.
- Delay Start: This feature allows you to set a time for the oven to start cooking, which can be useful if you want a meal ready when you get home from work.
- Sabbath Mode: This feature turns off certain oven functions to comply with religious laws.
Stovetop
The stovetop is where you cook your food in pots and pans. Depending on the model, your GE stove may have different stovetop features, such as:
- Burner Size: Some stovetops have burners of different sizes, which can be useful for cooking different types of food.
- Bridge Element: This feature connects two burners to create a larger cooking surface, which can be useful for cooking with larger pots and pans.
- Power Boil: This is a feature that heats the burner quickly, which can be useful for boiling water or cooking food quickly.
Understanding your GE stove’s different parts and features can help you use it more effectively and efficiently. With this knowledge, you’ll be able to cook and bake your favorite foods with ease.
Identifying the Clock Button
Setting the clock on a GE stove may seem daunting, but it’s quite simple once you know where to look. The clock button is usually located on the stove’s control panel, and it may be labeled differently depending on the model. Here are a few tips to help you identify the clock button on your GE stove:
- Look for a button labeled “Clock” or “Clock Set.” This is the most common label for the clock button on GE stoves.
- Check the user manual. The manual should have a diagram or description of the control panel, including the location of the clock button.
- Look for a button with a clock or time icon. Some GE stoves have icons on the control panel to help users identify the clock button.
Once you’ve identified the clock button, you can set the time on your GE stove. Refer to the user manual or search online for specific instructions for your model.
In general, you’ll need to press the clock button, enter the time using the keypad or plus/minus buttons, and then press the clock button again to save time. With a little practice, you’ll be setting the clock on your GE stove like a pro.
Setting the Clock: Step-by-Step Guide
Setting the clock on a GE stove is a simple process that can be completed in just a few steps. Here is a step-by-step guide to help you set the clock on your GE stove.
1. Locating the Clock Button
The first step in setting the clock on your GE stove is to locate the clock button. Depending on the model of your stove, the clock button may be located in different places. Typically, you can find it on the control panel, near the oven display, or on the back of the stove. Once you have located the clock button, press it to begin setting the time.
2. Setting the Hours
After pressing the clock button, you can set the hours using the “+” and “-” buttons, usually next to the clock button. Press the “+” button to increase the hours and the “-” button to decrease them. Make sure to set the correct AM or PM time by checking the display on the stove.
3. Setting the Minutes
Once you have set the hours, you can move on to setting the minutes. To do this, press the clock button again, and then use the “+” and “-” buttons to set the minutes. Set the minutes accurately, as this will ensure that your stove operates correctly.
That’s it! You have successfully set the clock on your GE stove. Remember to check the display to make sure that the time is correct. If you have difficulties setting the clock, refer to your stove’s user manual for more detailed instructions.
Confirming the Time
After setting the clock on our GE stove, it is important to confirm the correct time. This can ensure clarity and consistency when cooking or baking. Here are a few simple steps to confirm the time on your GE stove:
- Check the display: The current time should be displayed on the control panel of your GE stove. Make sure that the hour and minute are correct.
- Test the timer: Set a short timer for a few minutes and observe the countdown. The clock is likely set correctly if the timer counts down accurately and alerts you when it reaches zero.
- Wait for the next minute: Wait for the next minute to begin and observe the stove’s clock. The clock is set correctly if the minute changes accurately at the exact time.
If the clock is not displaying the correct time, you can repeat the steps for setting the clock. It is also important to note that power outages can sometimes cause the clock to reset, so it is a good idea to confirm the time after such an event.
Troubleshooting Common Issues
If you’re having trouble setting the clock on your GE stove, don’t worry. We’ve compiled a list of common issues and their solutions to help you.
1. Incorrect Time Display
If the clock on your GE stove displays the wrong time, you can try a few things.
First, check to make sure that the time zone is set correctly. If it’s not, adjust it accordingly.
If the time zone is correct, try resetting the clock. Press and hold the “9” and “0” buttons simultaneously until the clock display flashes. Use the “+” and “-” buttons to adjust the time, then press “Start” to save your changes.
If neither of these solutions works, there may be an issue with the clock’s circuitry. In this case, it’s best to contact a professional to diagnose and repair the problem.
2. Buttons Not Responding
If the buttons on your GE stove aren’t responding when you try to set the clock, you can try a few things.
First, ensure the stove is properly plugged in and receiving power. If it’s not, plug it in and try again.
If the stove is receiving power, but the buttons still aren’t responding, try resetting the stove by unplugging it for a few minutes and then plugging it back in.
If the buttons still aren’t responding after resetting the stove, there may be an issue with the stove’s control panel. In this case, it’s best to contact a professional to diagnose and repair the problem.
Maintaining Your Stove’s Clock
Setting the clock on your GE stove is a simple process that can be done quickly and easily. However, it is important to maintain the clock to ensure it remains accurate and reliable. Here are some tips on maintaining your stove’s clock:
- Check the clock regularly
Make it a habit to check the clock on your stove regularly to ensure it is displaying the correct time. If you notice that the clock is running slow or fast, you may need to adjust it.
- Adjust the clock after power outages
If your home experiences a power outage, the clock on your stove may need to be adjusted. Be sure to reset the clock as soon as power is restored to ensure that it remains accurate.
- Replace the battery
If your stove’s clock runs on a battery, it is important to replace it regularly. A dead battery can cause the clock to stop working or display the wrong time.
- Clean the clock
Dust and debris can accumulate on the clock, making reading difficult. Use a soft, damp cloth to clean the clock regularly to ensure it remains clear and easy to read.
By following these simple tips, you can ensure that the clock on your GE stove remains accurate and reliable.
Frequently Asked Questions
How Do You Set The Timer On A GE Double Oven Stove?
To set the timer on a GE double oven stove, press the Timer On/Off button. Then, use the number of pads to set the desired cooking time. Once you have set the timer, press the Timer On/Off button again to start the countdown.
How Do I Turn Off The Clock On My GE Range?
To turn off the clock on your GE range, press and hold the Clock button for 3 seconds. The clock display will turn off, but the time will continue running in the background.
How Do You Set The Clock On A GE Profile Microwave?
Press the Clock button to set the clock on your GE Profile microwave. Then, use the number pads to enter the correct time. Once you have set the time, press the Clock button again to save the setting.
How To Change The Time On The Samsung Oven?
To change the time on your Samsung oven, press the Clock button. Then, use the number pads to enter the correct time. Once you have set the time, press the Clock button again to save the setting.
How To Set Oven Clock Whirlpool?
To set the clock on your Whirlpool oven, press the Clock button. Then, use the number pads to enter the correct time. Once you have set the time, press the Clock button again to save the setting.

